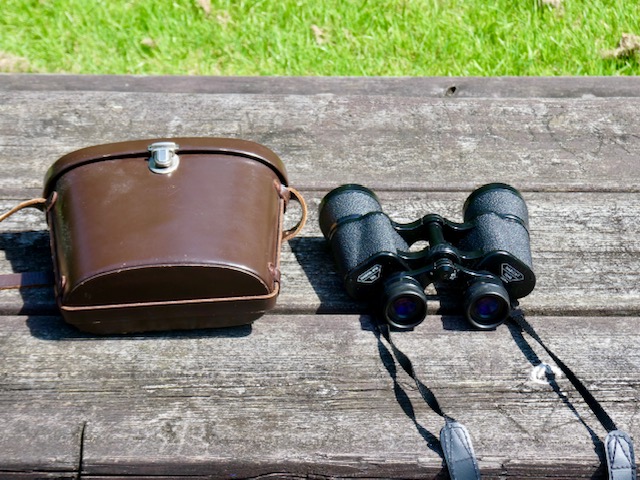
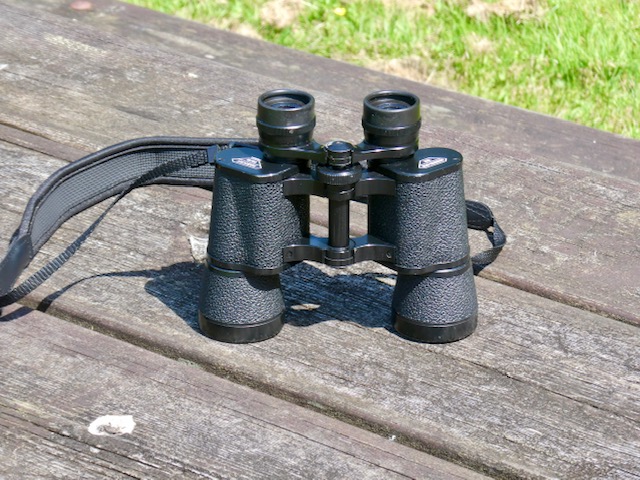
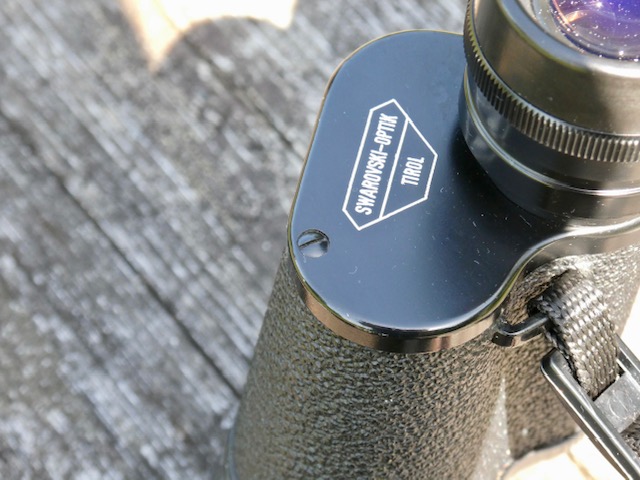
If you’ve been following my work you’ll know I’m always on the lookout for bargains for my readers. These not only come from contemporary models but also from the many classic binocular gems from yesteryear. One such example is the Swarovski Habicht Porro prism binoculars, which have been in continuous production since 1947.
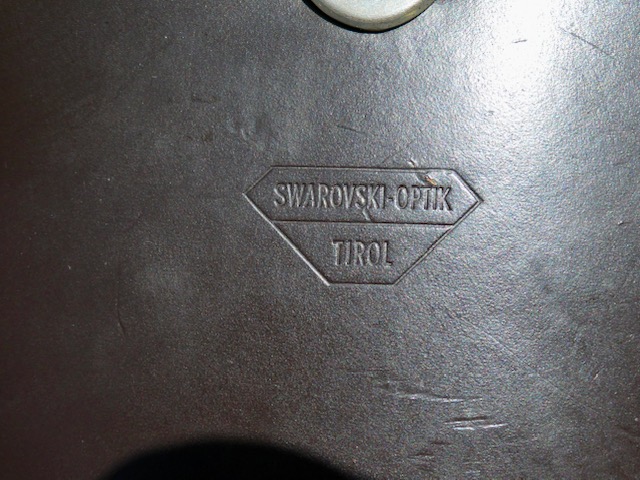
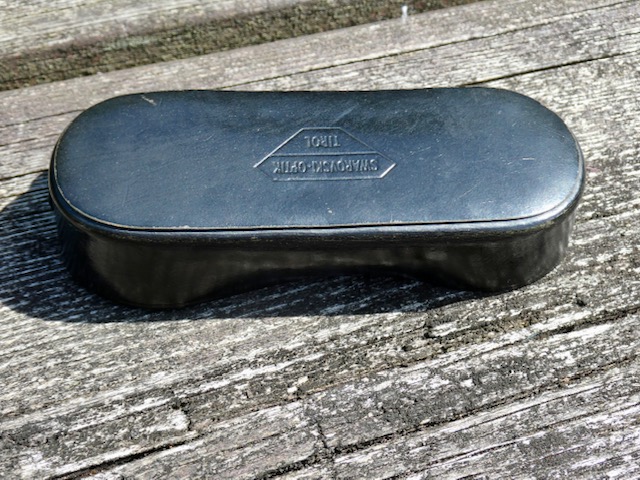
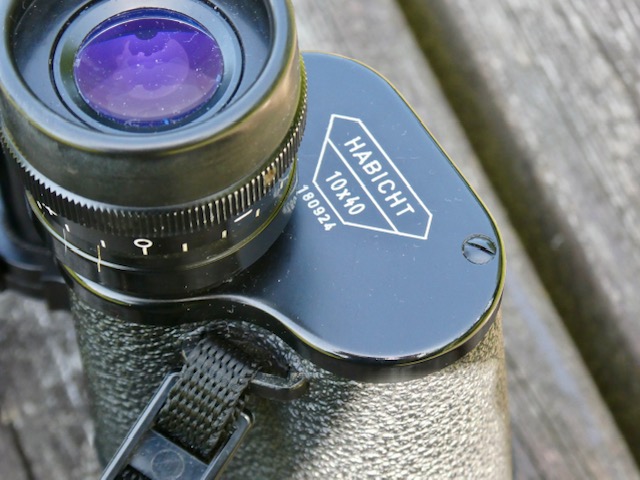
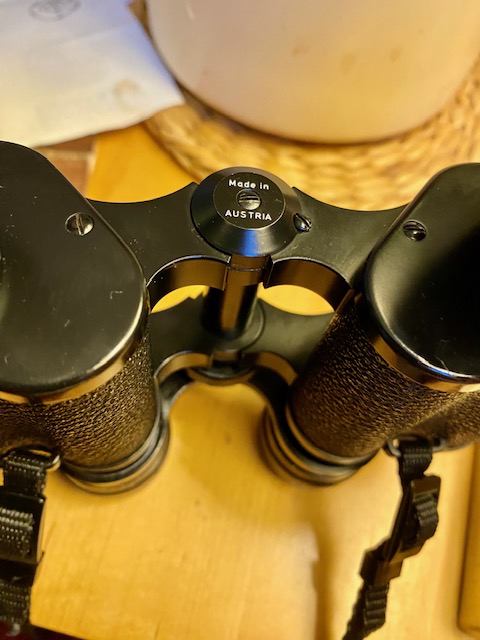
I took a punt on an older Tirol 10 x 40, which was in excellent condition despite its age: the serial number – 180924 – indicated that it was manufactured in 1986, so is 40 years old. It came with its original leather case and a rain guard made out of leather! Contacting Swarovski, they were able to confirm that the unit was sealed at the time of manufacture, explaining why the interior of the instrument was clean and dust free. I understand all models after 1984 were weather-sealed.
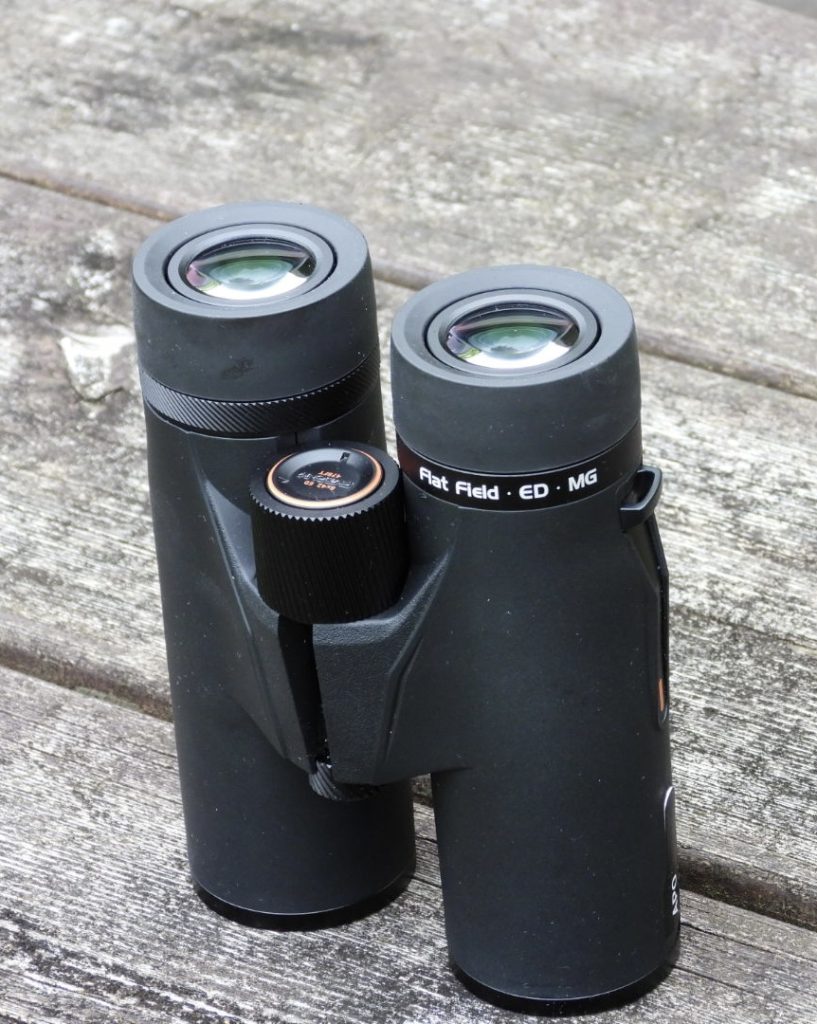
Weighing in at just 694g, the 10 x 40 Tirol has superb ergonomics. The Porro prism design lends itself to very comfortable handling: better I would say than many modern roofs.
Having sampled the modern incarnation of both the 8 x 30 W and 10 x 40W Habichts, the older Tirol model is made to the same high standards. The central focus wheel is quite stiff in this older model too, an indication that the optics are sealed off.
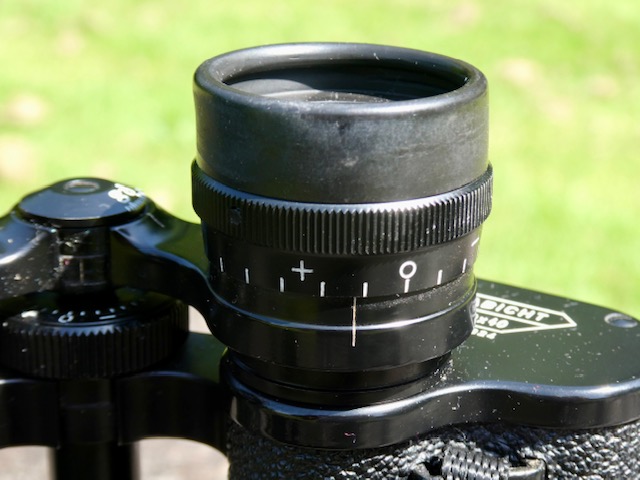
The right eye dioptre rotates smoothly just like the modern Habicht models and holds its position well. The eyecups are made out of soft rubber on this model: a departure from older units which were fashioned using hard, plastic. The leatherette is also in excellent condition despite its considerable age.
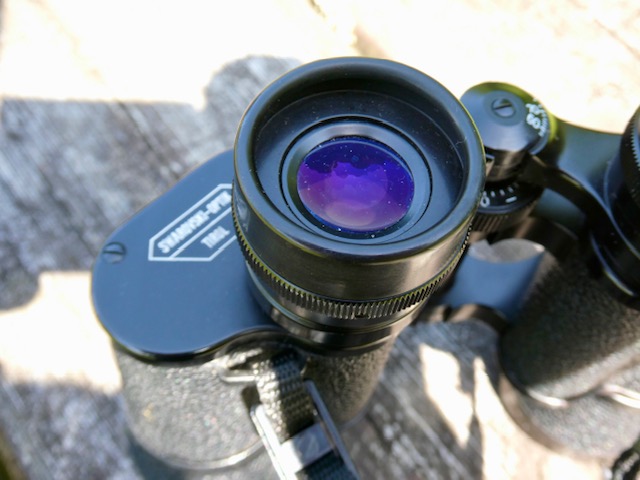
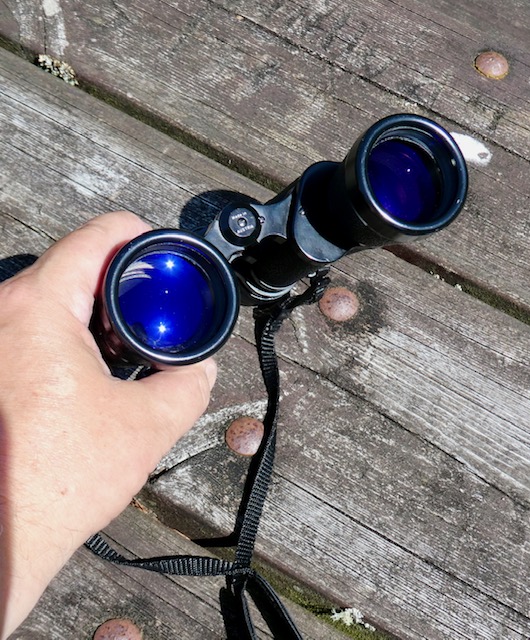
The antireflection coatings applied to the optical components on the Swarovski Habicht Tirol 10 x 40 have a strong bluish hue. Known as Transmax, it was revolutionary for its time, boosting light transmission to between 80 and 85 percent but at the expense of blocking some bluer wavelengths. In addition, the tint might come from using glass that has poorer transmission of blue wavelengths: a trait associated with many older glass types. Having sampled a fair amount of older glasses from pretty much all vintage optical houses, I believe you can see it in any of them! – roof or Porro.
Optically, the Tirol 10 x 40 serves up a magnificent image: surprisingly bright, razor sharp within a large sweet spot, but with some peripheral softening near the field stops. Indeed it is as good as any modern alpha glass. That shouldn’t surprise you. The optical components are of the finest quality with excellent figuring and polishing and that leads to first class images.You see, it’s all that meticulous figuring and polishing that minimises all the Seidel errors that creates that optical magic.
Those Seidel errors of old,
monochromatic imperfections,
Now known throughout the nations
The only difference between this older unit and the contemporary Habichts is the coatings applied which can now achieve an astonishing 96 per cent light transmission and which deliver a neutral colour balance. As you’d expect from a good Porro prism binocular, you get a wonderful stereoscopic effect – enhanced by the 10 x amplification -on objects imaged in the middle distance.
Close focus is a little over 3m; perfectly fine for a Porro as closer distances would render it very difficult for your eyes to merge the images together. There is also a great deal of post-infinity focusing on this unit- good news for even the most myopic amongst us. My subjective impression is that the slight yellowish cast to the image increases contrast, especially in hazy or dusty conditions. And while some would claim that this off-white colour bias could lead to mis-identification of bird species, I believe that’s poppycock. The yellow cast is so slight it would never be enough to lead to a false identification of even the most variegated of avian species.
The lower light transmission will however manifest itself in dimmer images, at dawn and dusk, when the contemporary Habicht series would sure have an edge.
There you have it!
Old Habichts certainly do die hard!
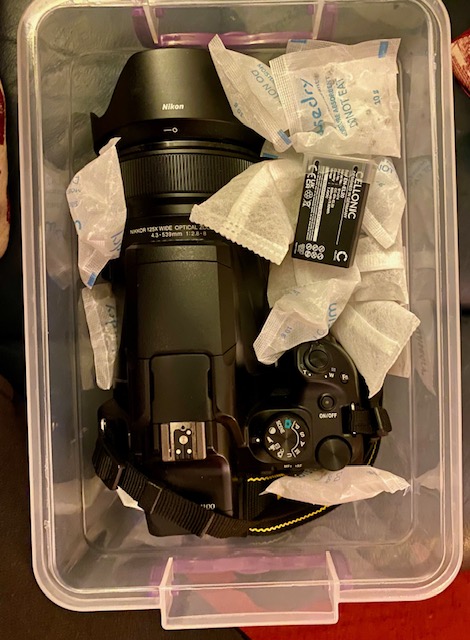
In summary then, I would highly recommend the Swarovski Habicht Tirol 10 x 40 to anyone. For a modest price tag of about £400 on the used market, you’re getting a first class glass with a strong retro accent. Worried about the glass fogging up internally in cold, humid conditions? Not if you store the instrument in a simple Tupperware container filled with desiccant. After a few days in this container, there will be no water vapour left inside to do any fogging! Just make sure to return it to the same box after using it in the field.
Thanks for reading!
Read more about classic binoculars in my book, Choosing & Using Binoculars, A Guide for Stargazers, Birders and Outdoor Enthusiasts.
Chassis: Magnesium alloy overlaid by protective rubber
Exit Pupil: 3.2mm
Eyecups: Twist up
Eye Relief: 17mm
Field Flatteners: Yes
IPD Range: 56-74mm
ED Glass: Yes, FCD 100 SD APOdesignation
Coatings:FBMC, dielectric phase coatings,hydrophobic coatings on outer lenses
Field of View:136m@1000m(7.8 angular degrees)
Dioptre Compensation: +\-4
Close Focus: 1.65m measured
Waterproof: Yes IPX7
Nitrogen Purged: Yes
Tripod Mountable: Yes
Weight: 604g
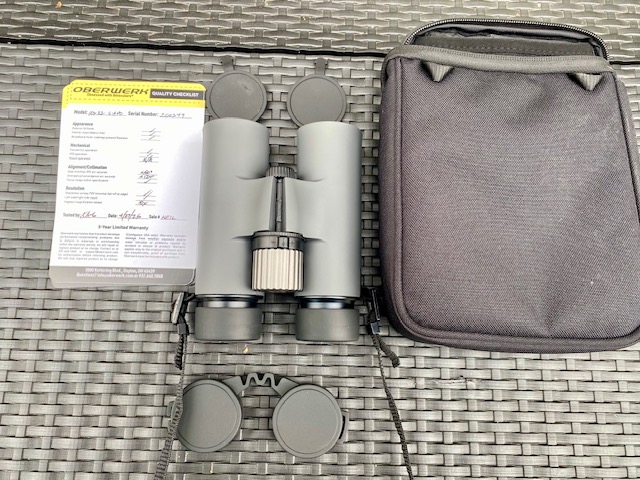
Accessories: Padded case, neck strap, rain guard and objective covers, test certificate
Warranty: 5 Year Limited
Price(UK): £699.95
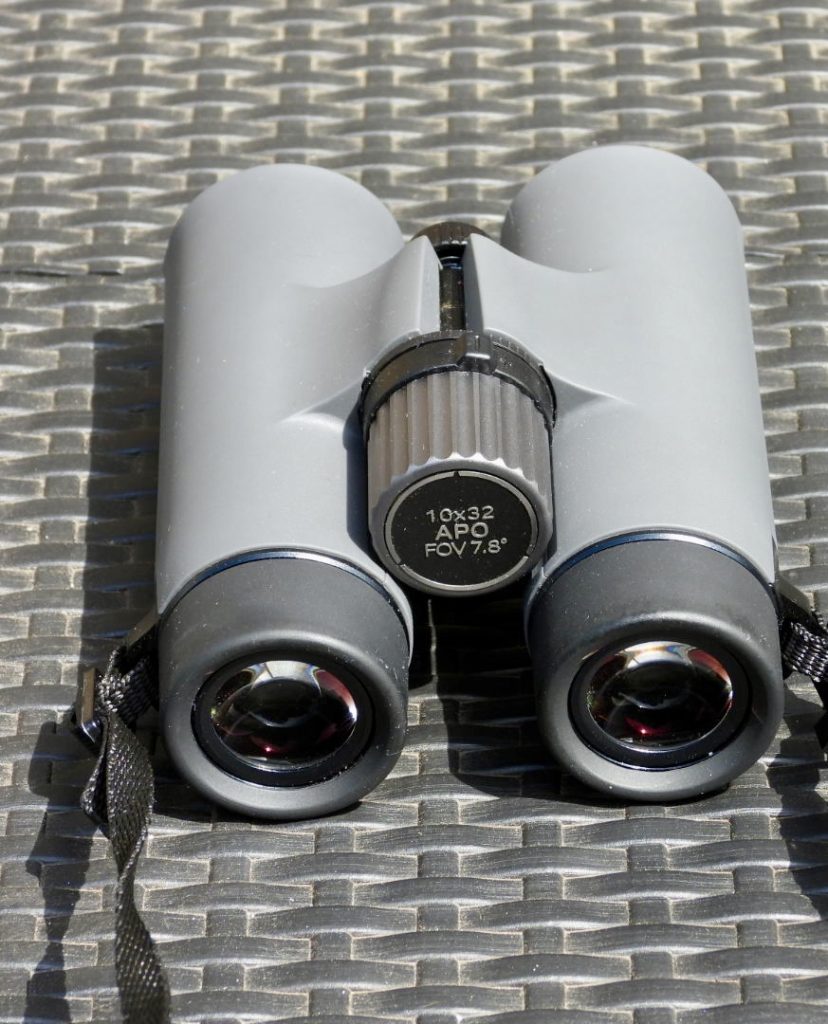
Imagine having an optically excellent, lightweight 10 x 32 delivering a wider field of view than either the Zeiss Victory SF or Swarovski NL Pure 10 x 32, but with a price tag of just one third of their retail prices. Just a few short years ago, you would have called me daft for making such a claim, but times and tide have moved on. Oberwerk have just brought to market a new and exciting Sport APO series of roof prism binoculars delivering top-tier performance rivalling the best optics from Europe.
Oberwerk, of course, is no stranger to the binocular market, having established itself as the world’s leading supplier of large astronomical binoculars. But in recent years, its founder, Kevin Busarow, has been developing smaller, handheld binoculars catering more for birders and other outdoor enthusiasts. Encouraged by the success of their highly popular Sport ED 8x and 10x 42mm models, Oberwerk has now gone one step further in offering a new line of instruments sporting ultra-flat, wide angle views and incorporating super-low dispersion objective lens elements that promise to deliver world class performance. In this review I will be test driving the Oberwerk Sport APO 10 x 32.
Ergonomics
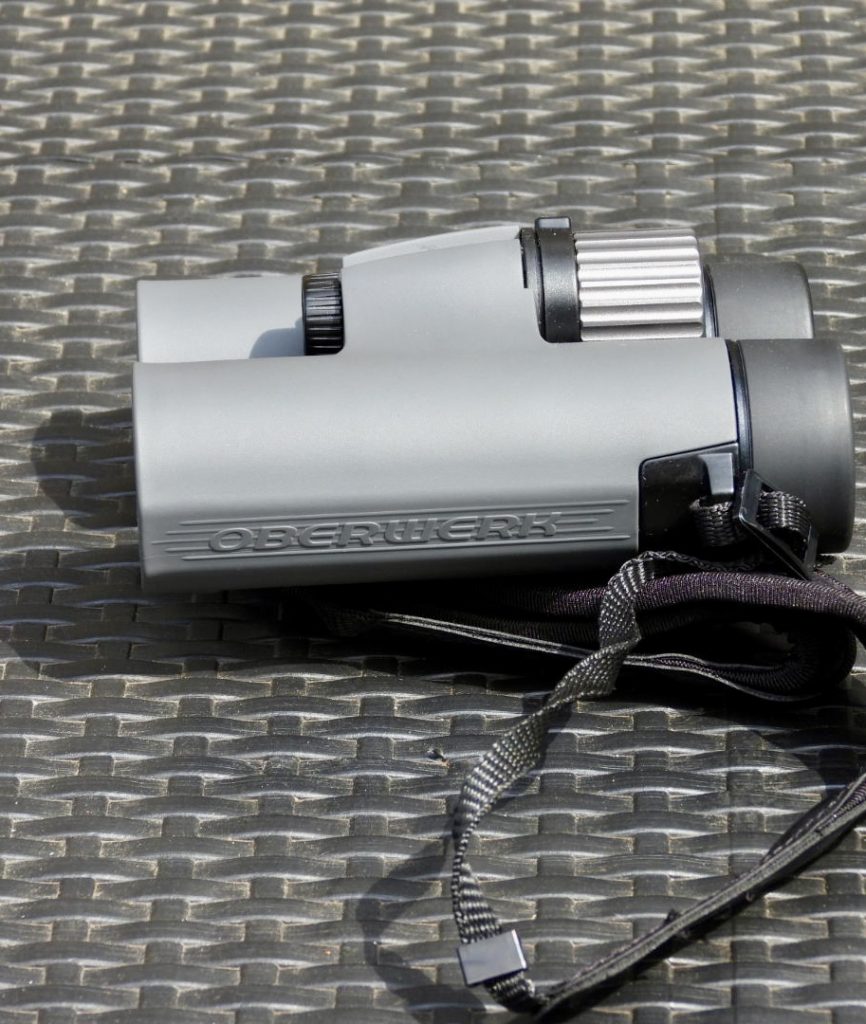
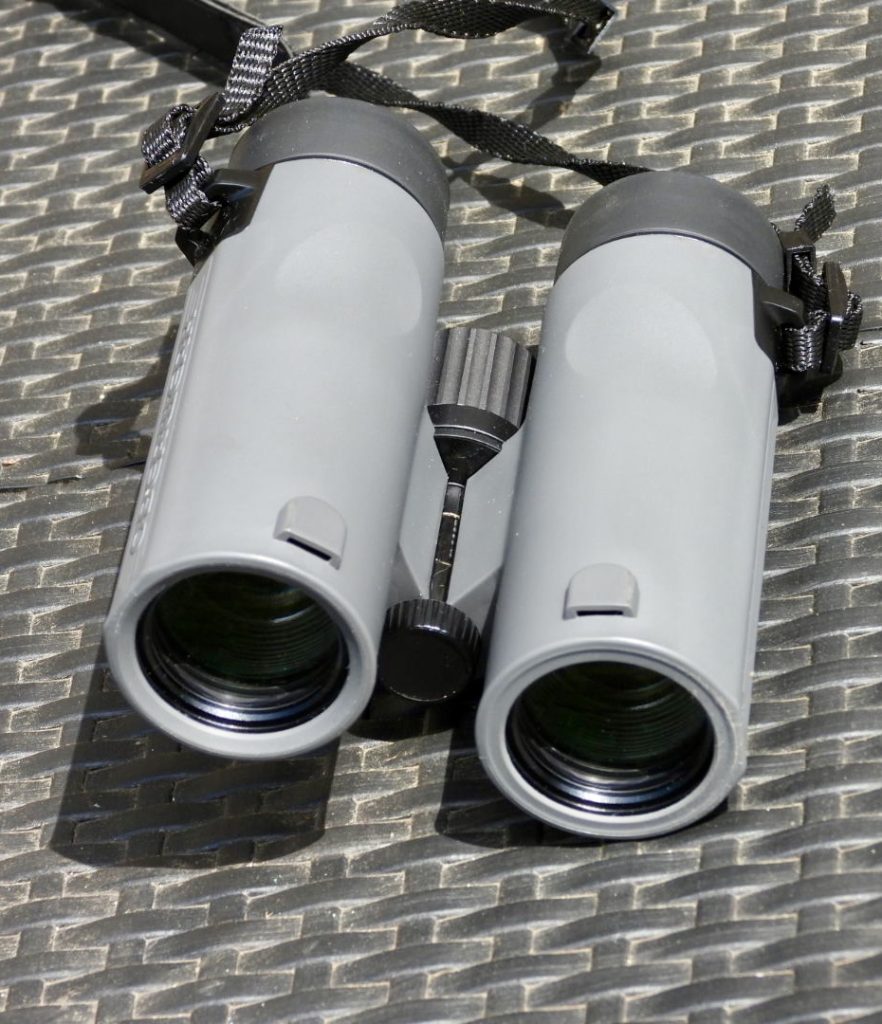
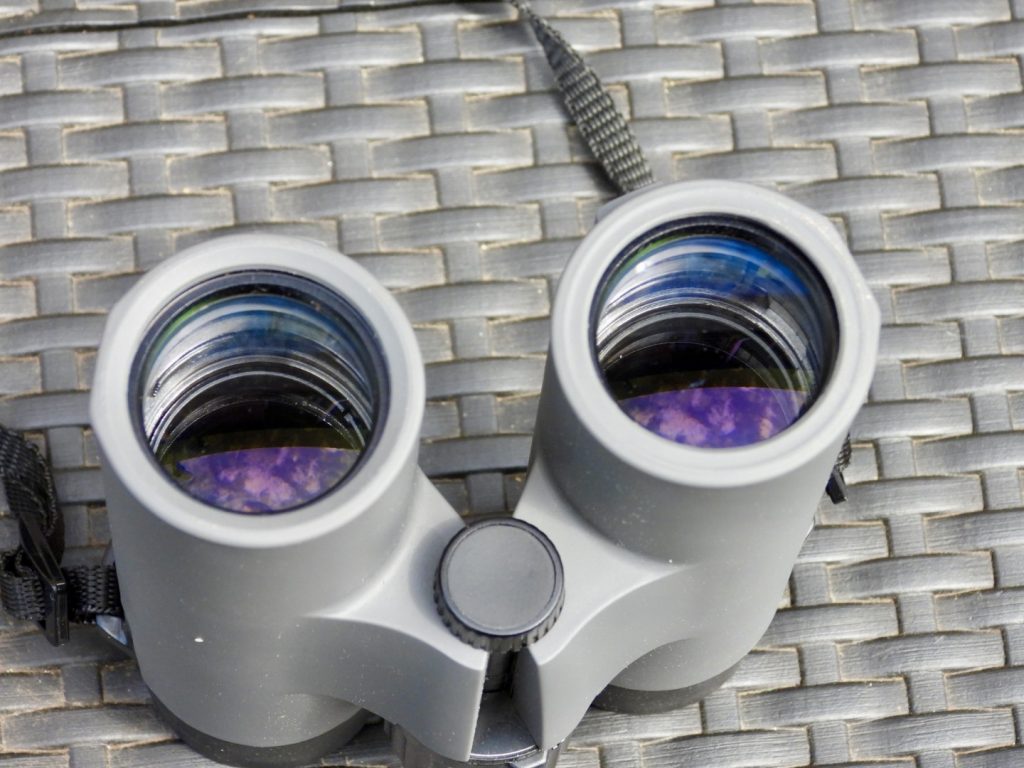
When I first handled the Oberwerk Sports APO chassis, I was surprised how plain and understated it looked with its grey chassis and black eyecups. Unlike all the other super wide angled binoculars I’ve previously tested, which were quite heavy, the Oberwerk Sport APO bucks that trend, tipping the scales at just 604g!
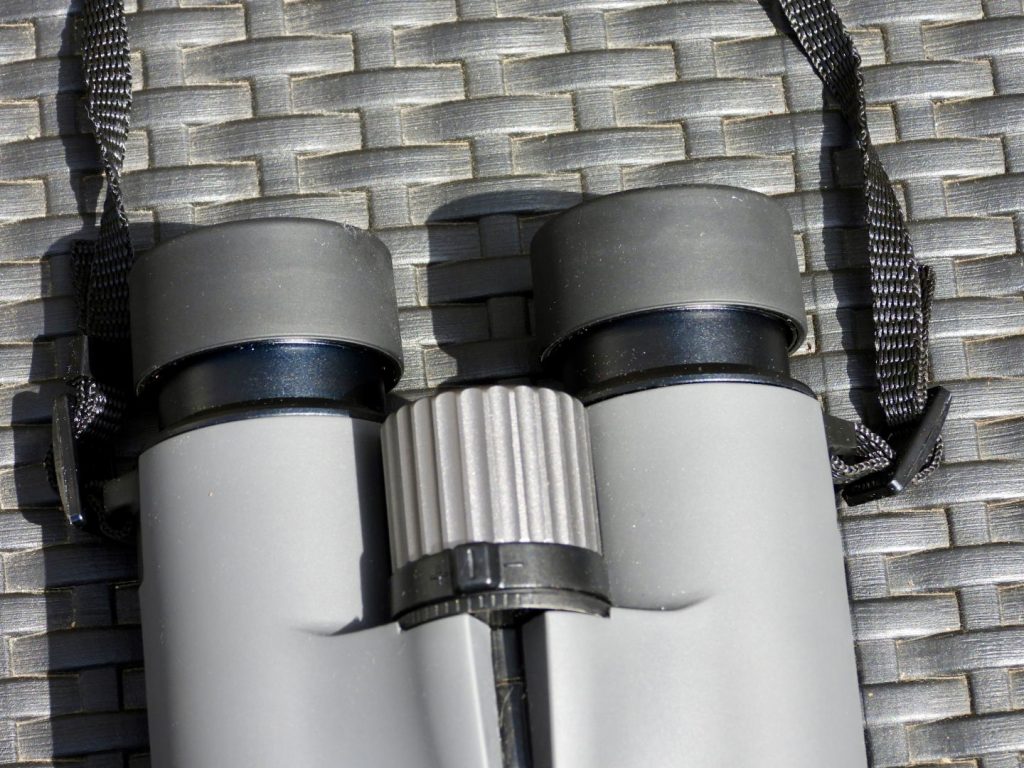
Another distinguishing feature of these Sport APO models is the location of the dioptre compensation ring, which is located just in front of the focus wheel. Some folk will find this weird but the Swarovski NL Pure adopts a similar dioptre design. I’m in two minds about this: on the one hand, it’s easier to accidentally move it, but on the other, it’s quick and easy to rectify in the field.
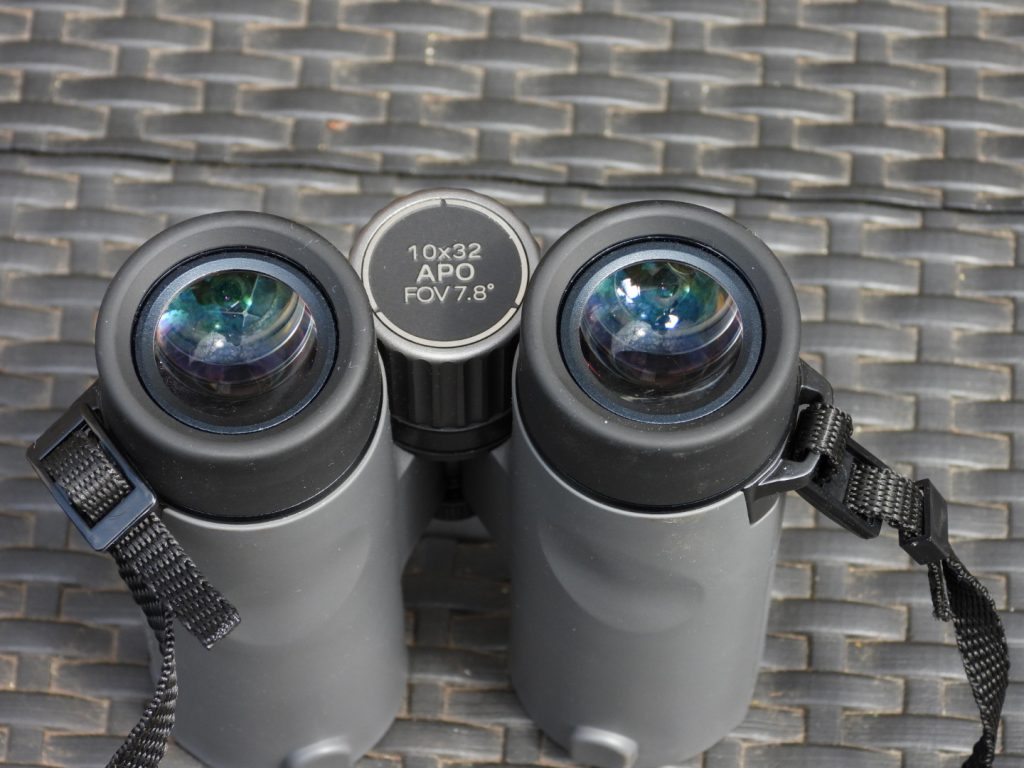
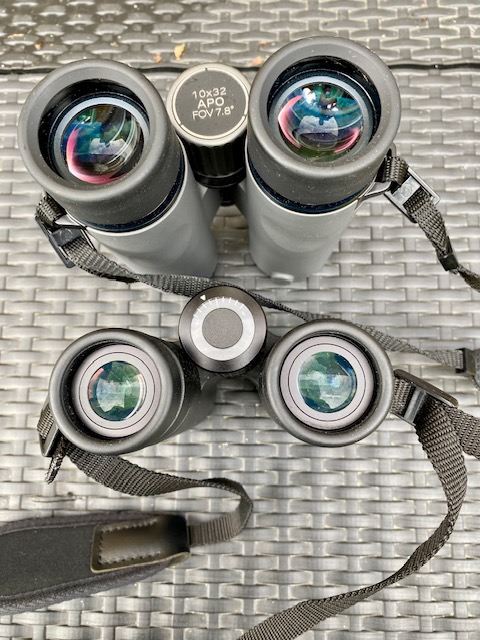
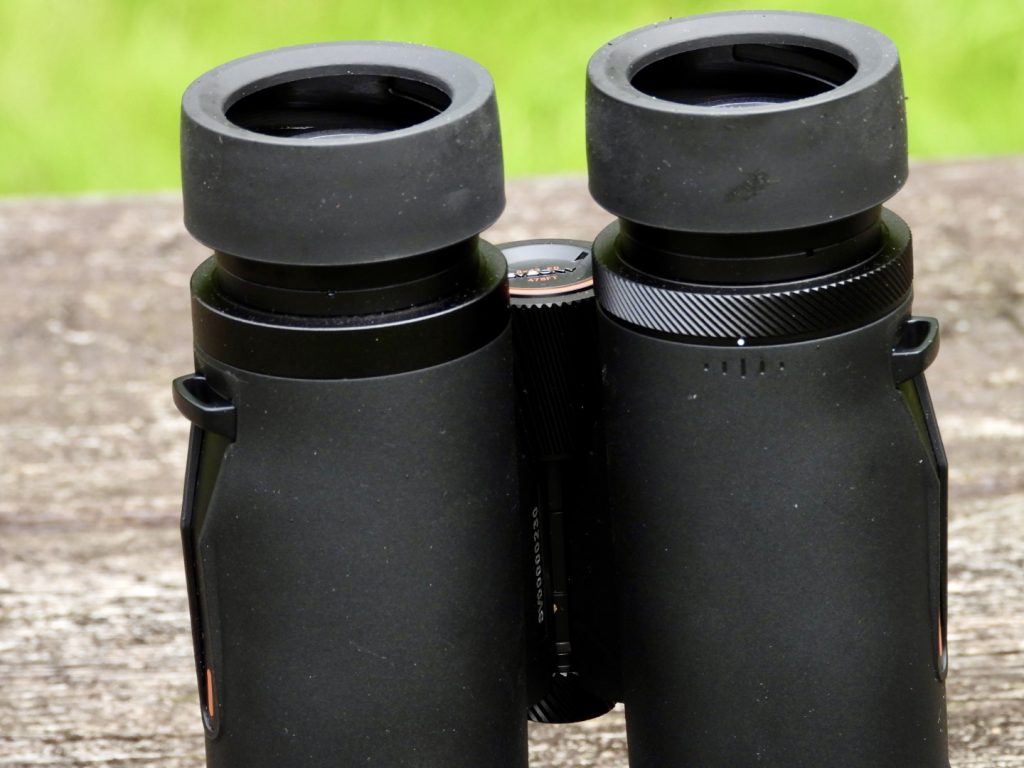
The twist up eyecups offer five separate positions and hold their place firmly. The large eye lens makes finding your ideal inter pupillary distance easy. Eye relief is generous: with the eyecups fully retracted I could access almost the entire field with my non-progressive spectacles.
The Oberwerk logo appears on the side of the barrels:
The focus wheel has deep groves affording excellent grip and is superbly tuned, rotating smoothly with no free play. Two complete rotations anticlockwise brings you from closest focus to infinity and a bit beyond.
The under side of the barrels have two shallow thumb indents. While some folk like them, I never found them especially useful.
The supplied rain guard fits the eyepieces snugly and I very much liked the design of the objective covers which slot into two little grooves at the end of the barrels. They can be detached easily if you don’t like using them in field use.
The Oberwerk Sport APO 10 x 32 is a pleasure to handle. I can easily wrap my fingers round the barrels to get a good steady view. You do have to be a little bit careful when focusing however, as the dioptre ring lies just beyond the focus wheel. In practice however, you very quickly get used to it.
Optics
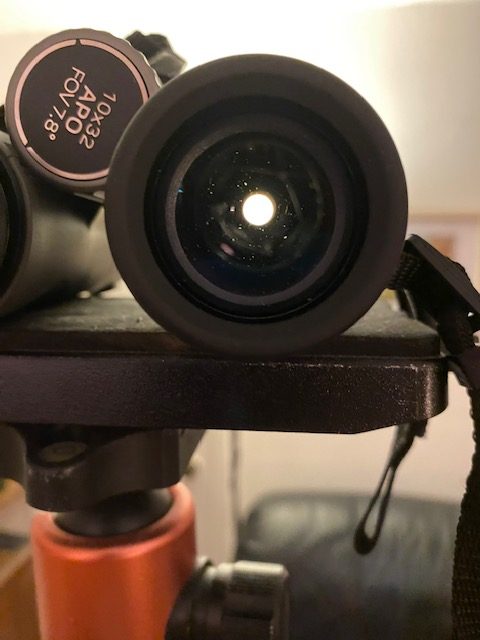
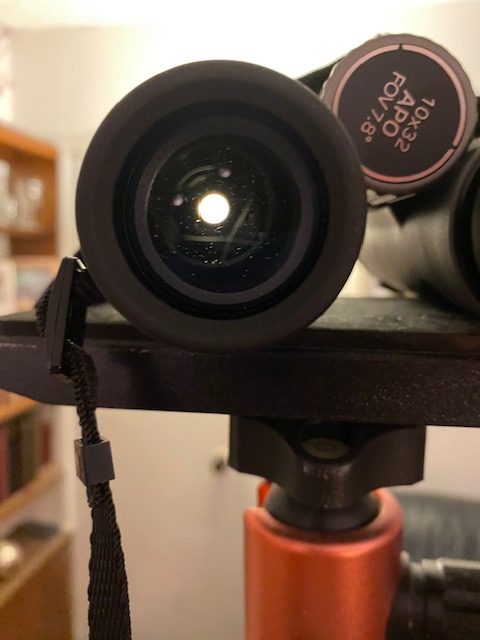
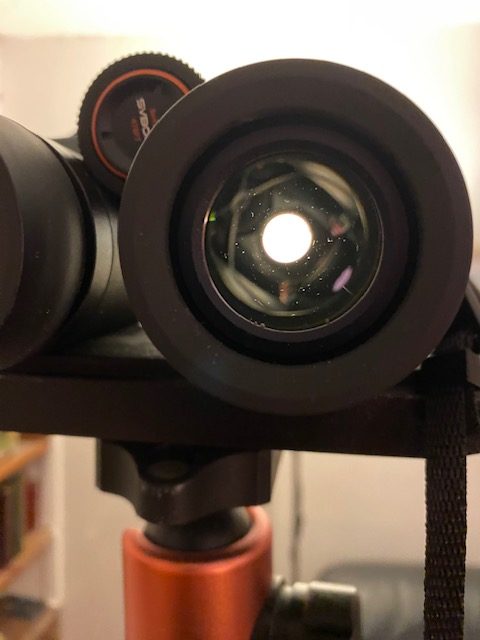
As usual, I began my tests by examining the image of a bright light source from across my living room. The results were excellent, with no significant internal reflections and only a very subdued diffraction spike. Examining the entrance pupils also yielded excellent results. You can see the perfectly circular pupils surrounded by a dark hinterland. This indicates that the 10 x 32 should handle well against the light.
While the Oberwerk Sport APO chassis comes across as rather plain and unostentatious, there’s nothing plain about its optical performance. The view is wonderful! Tack sharp from centre to edge, colours are saturated and true to life, and that enormous field of view creates a totally immersive visual experience. Though I don’t wear glasses while looking through binoculars, I found the optimal setting for the eye cups to be two clicks up and not fully extended. Chromatic aberration is vanishingly low across most of the field, with only a trace seen at the very edges near the field stops. Contrast is a noticeable step up from the vjews presented by the Sport ED models I’ve reviewed in the past. This I attribute to the higher grade FCD 100 super low dispersion glass making up the objective lens assembly. That’s equivalent to Ohara FPL 53.
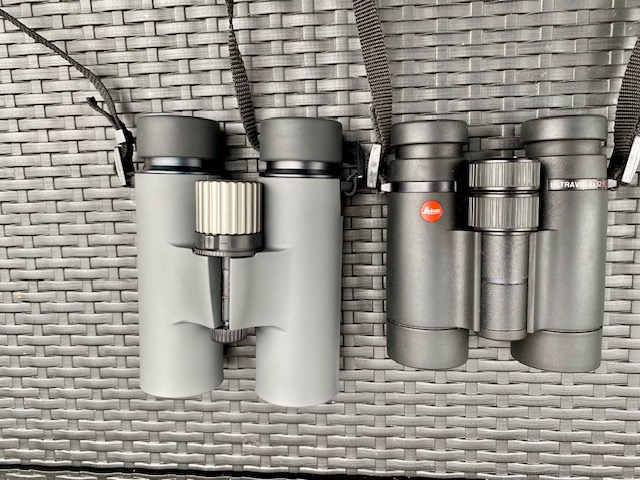
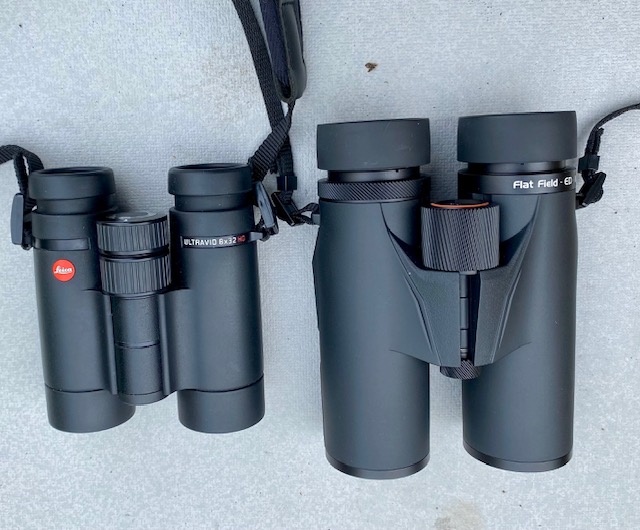
As a control, I compared the views through the Oberwerk Sport APO 10 x 32 with my Leica Ultravid HD Plus 8 x 32 under a number of lighting conditions, from bright sunny days to heavily overcast skies, taking into account the magnification difference between the glasses. I can report that the Oberwerk Sport compared very favourably to the much more expensive Leica glass. Indeed the field of view is larger in the 10 x 32 compared with the 8 x Leica(7.8 vs 7.7 degrees, respectively), which really impressed me! I couldn’t make out any differences in sharpness between the two instruments but the Leica glass showed more distortion and higher levels of colour fringing at the edge of the field, and with much more pronounced pin cushion distortion to boot!
Close focus was noticeably better in the Oberwerk Sport APO too – 1.65m compared with about 2m in the Leica. The only optical parameter where the Leica excelled was glassing against the light when, the Oberwerk 10 x 32 showed stronger veiling glare. That said, here too the Sport APO handled better than the Sport ED models.
To ascertain how flat the field is in the Oberwerk Sport APO, I examined the morphology of bright summer stars like Vega, now high in the eastern sky after local midnight. The star remained pin sharp all the way to perhaps the last 10 per cent of the field, when I began to perceive a trace of coma and astigmatism which couldn’t be focused out. Turning to a gibbous Moon, I also tested the Sport APO for illumination drop off at the edge of the field, where I was very surprised to see very little fall off. Here again, the Sport APO was noticeably superior to the less advanced Sport ED models.
Conclusions
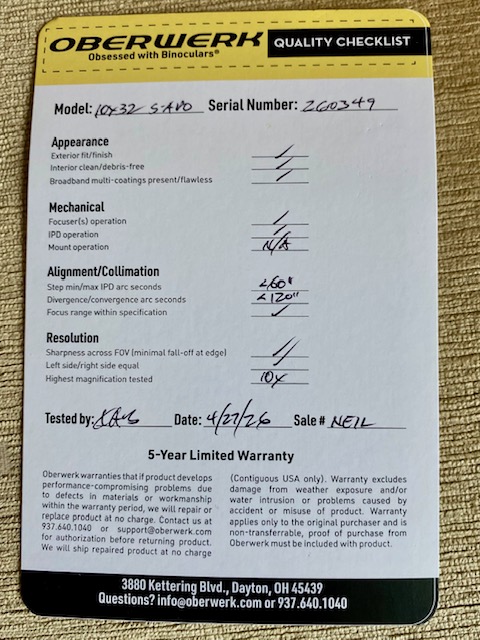
Oberwerk have claimed that their new Sport APO series brings a new level of affordable excellence to the market. I would wholeheartedly agree. Not only are you getting lightweight, world class performance from their new APO series of handheld binoculars at hitherto unheard of prices, you also can be reassured that their product is tested in house before it’s shipped out to you. That reassurance alone is inestimable!
Highly Recommended!
Dr Neil English is author of Choosing and Using Binoculars: a Guide for Stargazers, Birders and Outdoor Enthusiasts
Chassis: Magnesium alloy overlaid by protective rubber
Exit Pupil: 5.25mm
Eyecups: Twist up, innovative step-less design
Eye Relief: 19.8mm
Field Flatteners: Yes
IPD Range: 56-74mm
ED Glass: Yes, APOdesignation
Coatings:FBMC, dielectric phase coatings, hydrophobic coatings on exterior lenses
Field of View:159m@1000m(9.1 angular degrees)
Dioptre Compensation: +\-4
Close Focus: 1.51m measured
Light Transmission: 91%
Objective filter threads: Yes
Waterproof: Yes IPX7
Nitrogen Purged: Yes
Tripod Mountable: Yes
Weight: 944g
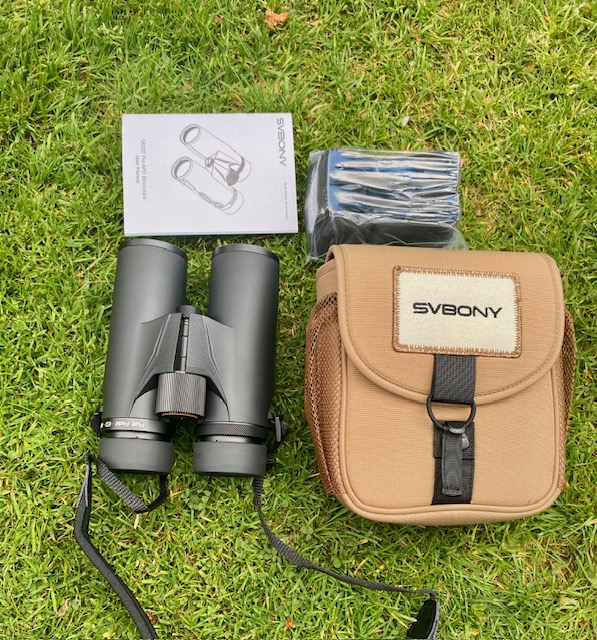
Accessories: Padded case with carry strap, neck strap, rain guard and objective covers, instruction manual
Warranty: 2 Years
Price(UK): £399.99
Without a shadow of a doubt, we are living in the golden age for purchasing high quality binoculars. For many decades, the finest optics were the purview of companies like Zeiss, Swarovski and Leica, who command very high prices for their optics, but in the last few years some serious challenges to the status quo have emerged.
When I first set out surveying the binocular market, I discovered, quite by accident, a relatively new company, Svbony, who were offering good quality binoculars at incredibly low prices. I speak of the SV202 series which is now enjoyed by thousands of binocular enthusiasts across the world. The SA205 series was a significant improvement over the SV202s, offering a much flatter field of view. Most recently, Svbony has launched their new flagship binocular series, the SA207 Pro, which promises top notch optical performance comparing very favourably with the highest quality wares offered by European manufacturers. In this review, I’ll be test driving the SA207 Pro 8 x 42.
First Impressions
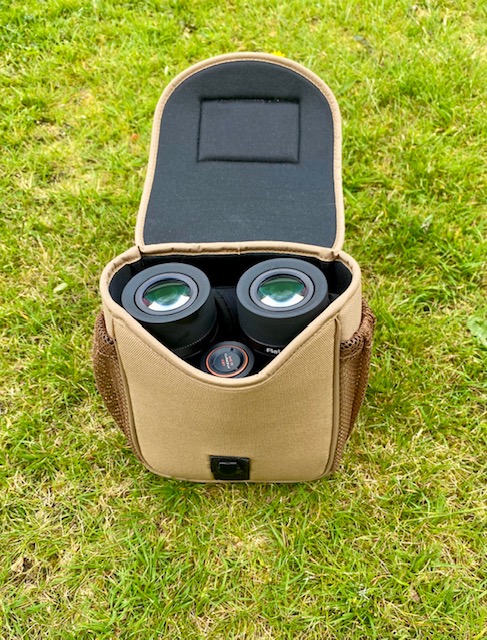
The instrument arrived well packed with nothing out of place. I was first struck by the quality of the carry case for the SA207 Pro which is very nicely padded to protect the optics with its rich, beige colour. The instrument fits snugly inside and has plenty of room to accommodate the neck strap. On the rear end of the case a separate zipped compartment allows you to carry a lens cloth and some lens wipes etc.
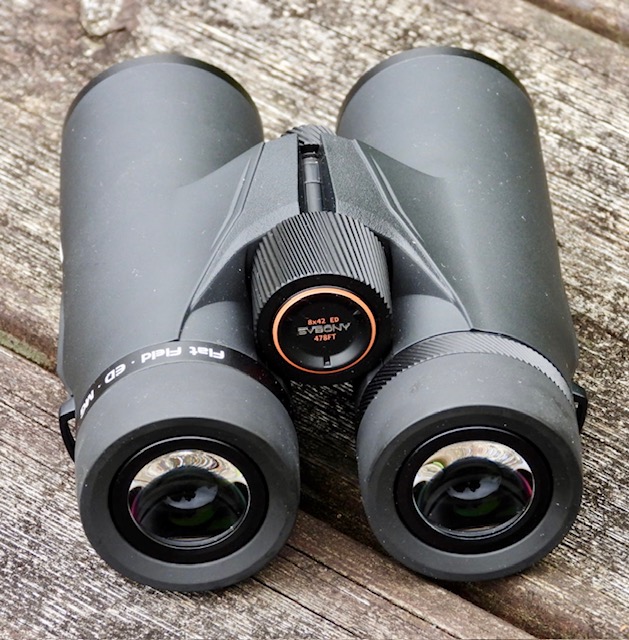
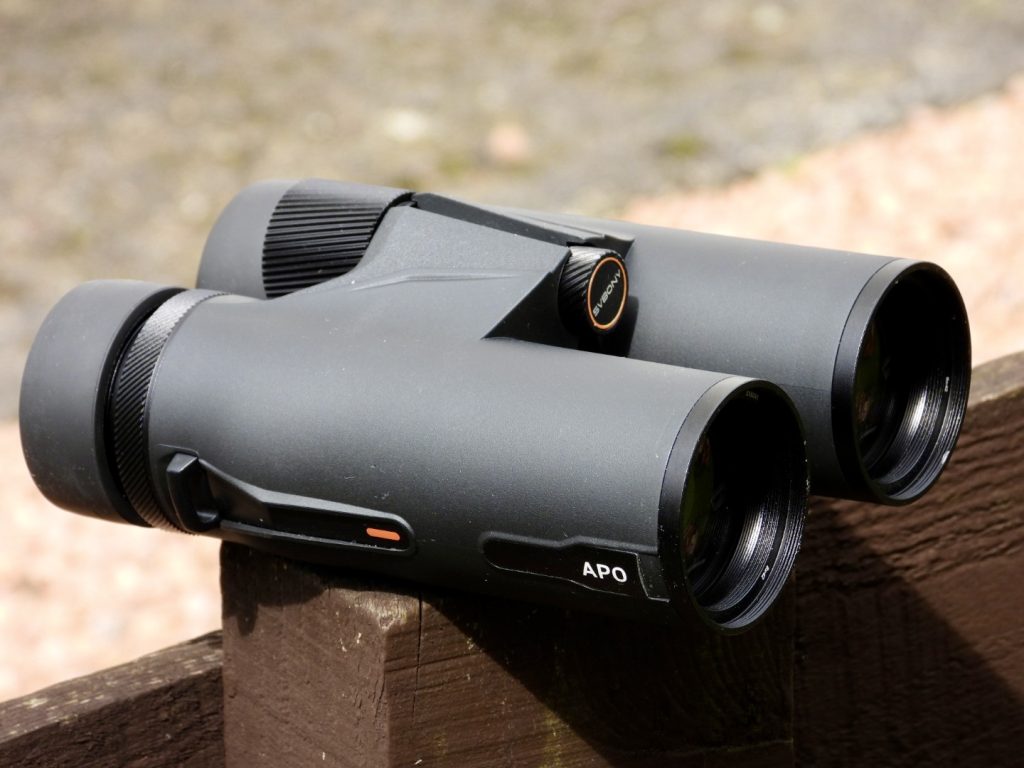
Turning to the instrument itself, my first impressions went something along the lines of, “ this is one solidly built binocular,” its large frame and sleek black rubber armouring protecting the magnesium alloy chassis underneath. I love the splashes of orange complementing the black colour of the chassis.
My first surprise came when I went to twist up the eyecups. Unlike any other model I’ve tested, the SA207 Pro offers no fixed detents. You simply rotate the eyecups and watch them move upwards. That means that the user can set them to whatever distance from the eye lens that is most comfortable. They work incredibly well by the way, rigidly holding their positions no matter how much or how little they are twisted. This gives the user an extra degree of freedom in reaching the optimal eye relief for their physiology.
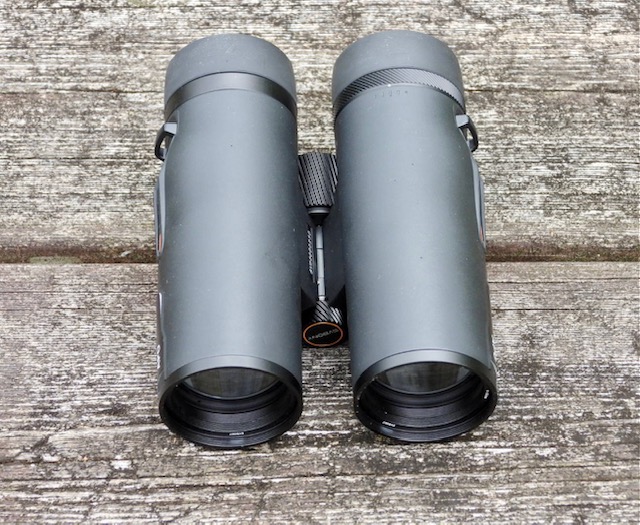
The eyepieces are large and extremely comfortable to rest your eyes against, with the generously large exit pupil rendering it child’s play to correctly centre them on your target. The objective lenses are well recessed and the antireflection coatings generating tobacco coloured hues in broad daylight. The reader will also note that the objectives are threaded to accept a variety of astronomical filters. The interior was spotlessly clean, with no finger prints, dust or metal shavings I see all too often in other models.
Another useful upgrade featured on the SA207 Pro 8 x 42 are the hydrophobic coatings applied to the exterior lenses of the instrument. In my damp Scottish climate, this will help repel water droplets, condensation and dirt, making them easier to clean.
The dioptre compensation ring is located under the right ocular lens. It rotates smoothly but with a nice amount of inertia, enabling it to hold its position precisely in field use.
The textured metal focus wheel is superb – buttery smooth to rotate in both directions and with zero play. It’s beautifully tuned too, allowing the user to quickly and accurately focus from just a few metres away to infinity and a little bit beyond. About one and a half revolutions of the wheel anticlockwise takes you from its closet focus to infinity. That said, I found myself using only about 5 per cent of the focus travel to glass nearly all the subjects I used to test this model. The main reason for this is the SA207 Pro’s incredible close focus, bringing objects as near as 1.5m into sharp focus!
While the accompanying neck strap is padded out enough to handle the substantial weight of this binocular (944g), I felt an instrument as sturdy as this would benefit from stronger support, if only for added peace of mind. I had one small niggle about the rain guard accompanying the SA207 Pro. It’s just too tight! Indeed, the rubber eyecups come off with the rain guard, which is not ideal! Thankfully, the rubber eye cups are designed to be pulled off to aid in cleaning the eyepiece lenses.
The SA207 Pro 8 x 42 handles superbly. It’s easy to hold in my medium sized hands. It has the look and feel of an instrument costing far more than its modest asking price suggests.
Optics
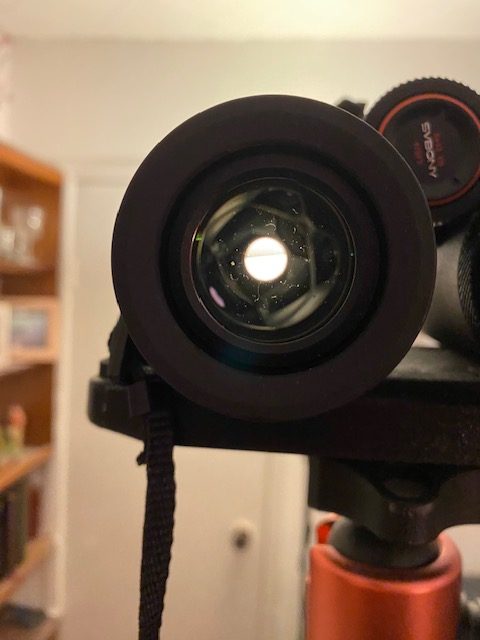
I began my optical testing by shining an intensely bright beam of light from across my living room to see how the binocular handled it. The result was very encouraging: a couple of very subdued internal reflections and a modest diffraction spike. When I turned the SA207 Pro on a less bright streetlight after dark the internal reflections had all but disappeared but the diffraction spike remained.
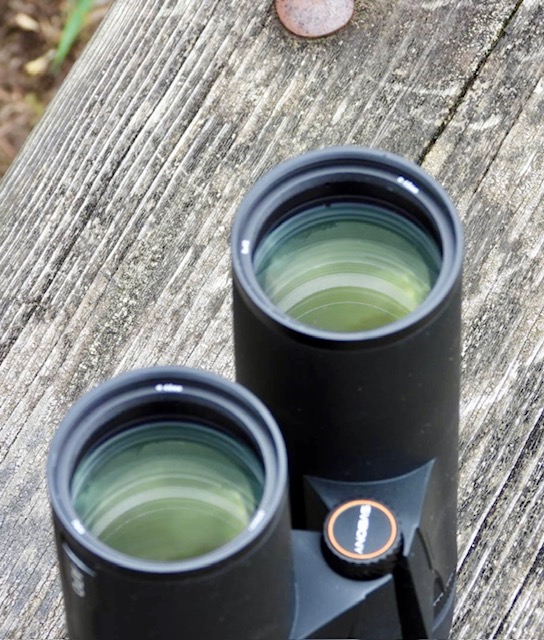
Next I examined the light around the exit pupils. The results were excellent, as you can see below: perfectly round entrance pupils and no light leaks in their vicinity. This is good evidence that the SA207 Pro will deliver high contrast images even against the light.
The view is excellent: tack sharp from centre to edge, bright, and vivid natural colours and lovely contrast. The big eye box makes getting a relaxed view easy to achieve. Comparing it to the view through my Leica Ultravid HD Plus 8 x 32, I was delighted to see that the views were very comparable.
The biggest difference was the near elimination of any pin cushion distortion in the SA207 Pro that was all too obvious in the Leica glass, as well as the much larger field(40 per cent larger) of view presented by the Svbony. Leica has a reputation for delivering optics that suppress glare better than nearly all other brands and in these tests – glassing against the light – it did pull ahead, but not by much. Chromatic aberration was exceptionally well controlled in the SA207 Pro with only a trace seen right at the edge of the field. Indeed, I felt the Svbony glass showed less colour fringing than the Leica. Resolution at distance seemed to be a tad better in the SA207 Pro compared with the Leica too. Eye relief was also much better in the SA207 Pro 8 x 42 than in the Leica. Keeping the eyecups in their fully retracted position I could access nearly all the field of view with my regular (non progressive) glasses.
Testing the SA207 Pro 8 x 42 on the night sky, I centred the bright star, Arcturus, to see how the instrument would behave as I moved the star from the centre all the way to the field stops. The star remained tightly focused nearly all the way to the edges, with very mild coma and a trace of astigmatism showing up in the outermost 10 per cent of the field. This will make an excellent stargazing glass for cruising the summer Milky Way. All in all, the SA207 Pro optics are indeed top notch, comparing favourably with instruments costing three or four times its retail price!
Conclusions & Recommendations
To say that I’m impressed with the SA207 Pro 8 x 42 would be an understatement. It clearly performs well enough to place it in the top tier of contemporary mid-sized binoculars, yet is offered at an incredible price. It’s ideal for birding, casual stargazing, and landscape exploration. I’m very much hoping Svbony will bring other members of the SA207 family to market, including perhaps a 10 x 42, 8 x 32 or even a 10 x 50. Only time will tell!
Highly Recommended!
Dr Neil English is author of Choosing & Using Binoculars: a Guide for Stargazers, Birders and Outdoor Enthusiasts.
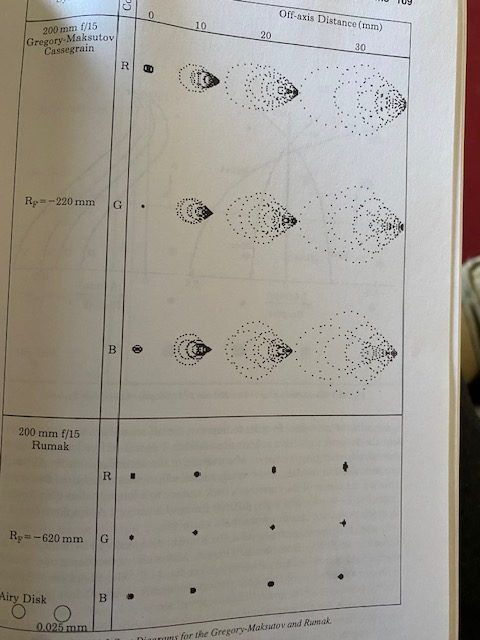
In their now classic papers published back in the 1940’s, Dimitri Maksutov and Albert Bouwers independently published their designs for a meniscus camera, in which they suggested that the same camera could be modified into a new kind Cassegrain telescope. But it was not until 1957 that the American optical engineer, John Gregory, published his designs for a F/23 meniscus telescope. His prototype F/23 instrument had a spherical primary mirror matched to a spherical meniscus of the opposite power. Gregory added an aluminised spot on the inside surface of the meniscus but this design had too much residual chromatic aberration. A year later, Gregory published a revised design for a F/15 Maksutov Cassegrain with improved colour correction by aspherising either the secondary or primary mirror. The Gregory Maksutov characterised by a deeply curved meniscus with a central aluminised spot still suffers from significant coma and astigmatism moving off axis. The Dutch amateur astronomer and optical designer, Harrie Rutten, hit on the idea of introducing a separate convex mirror to the centre of the meniscus which added another degree of freedom to the Maksutov Cassegrain design, allowing for much improved off axis performance and a much flatter field. Moreover, adding a secondary operating independently of the meniscus and primary mirror allows shorter focal ratios to employed (F/8-12) compared with the typical F/13-15 adopted in many Gregory Maks.
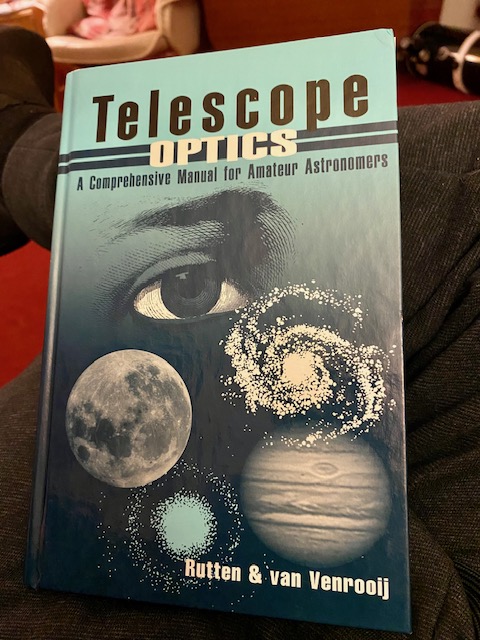
His ‘Rumak’ design first appeared in the 1988 book, Telescope Optics, where on page 111, the authors compare spot diagrams of a conventional 8-inch F/15 Gregory Mak to a similar Rumak, clearly showing how much better the latter is moving off-axis:
The Rumak design quickly turned into reality when companies like Intes, Intes Micro, Santel, LOMO, Orion Optics UK and TEC began to offer Rumaks in apertures from 5 inches up to 8 or 10 inch monsters. But these were quite expensive. Things began to change a few years ago however, when Bosma marketed a 6-inch(150mm)F/12 Rumak which proved popular with lunar and planetary imagers and visual observers alike. To my mind, the Maksutov Cassegrain is among the most elegant optical designs, combining high optical performance with extreme portability.
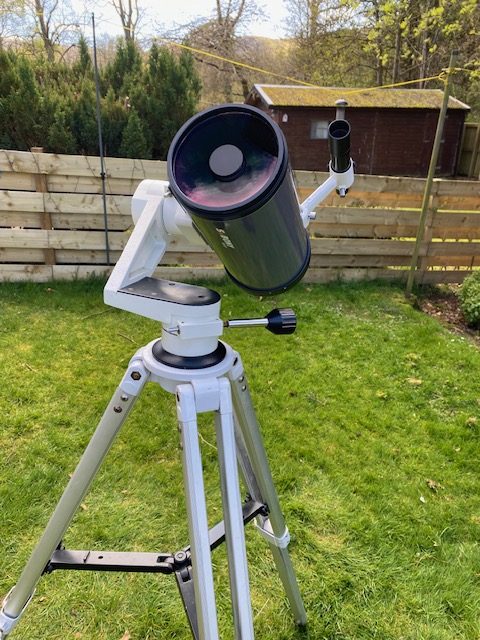
In this review, I’ll be showcasing an exciting new Rumak telescope marketed by the Hong Kong-based company Svbony: enter the MK 127: a 5-inch F/11.8 optical tube assembly.
What’s in the Box?
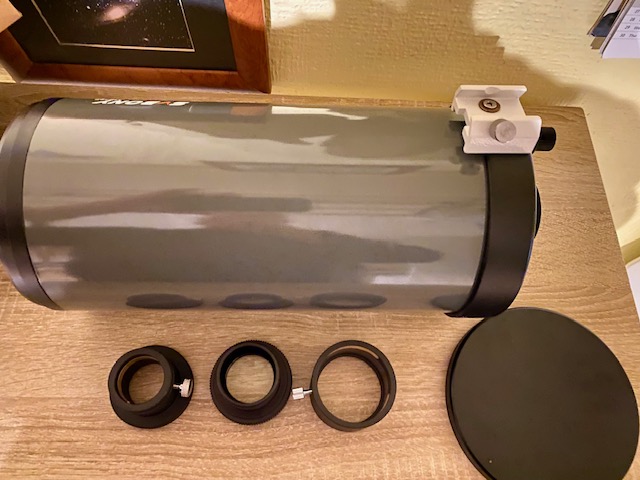
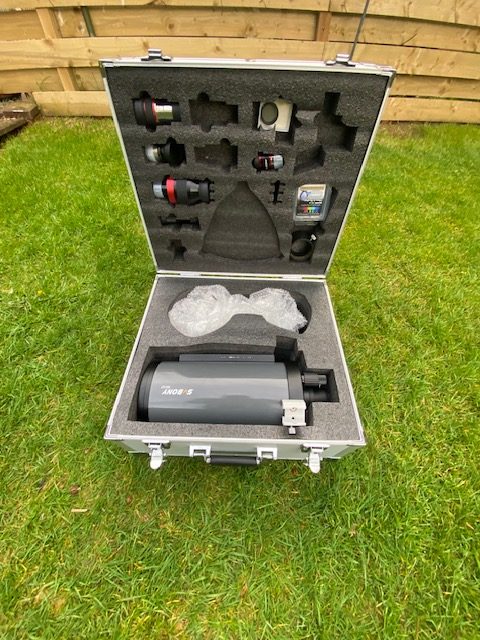
The telescope arrived securely inside a snugly fitting box with foam cutouts. As well as the optical tube assembly, you get both 1.25 inch and 2-inch adaptors which are very nicely machined and screw directly onto the back of the telescope. Unlike cheaper adaptors that use a side screw that can scratch cameras or eyepieces, these have brass compression rings. You also get a dedicated 0.65x focal reducer that decreases the focal ratio to F/7.68. The reader will note that this cannot be used visually.
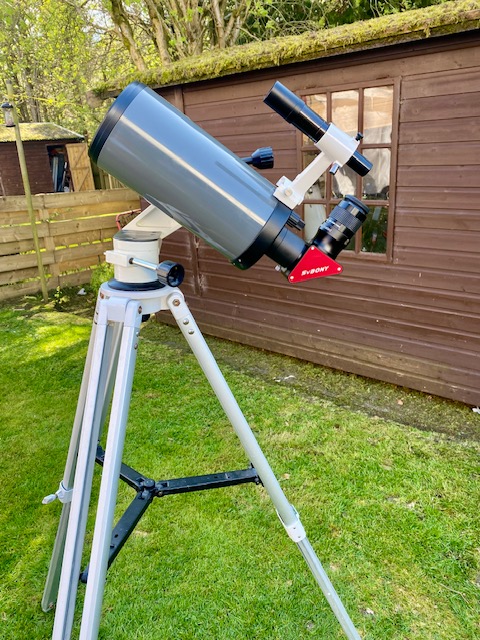
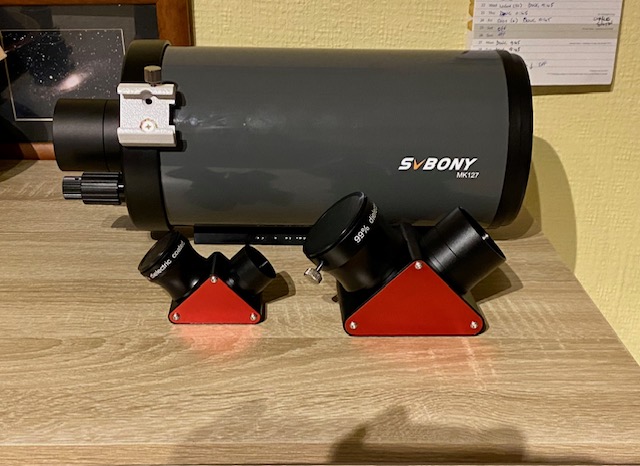
The optical tube is a handsome grey colour and has two brackets attached to attach a finder or guide scope. It’s reassuringly light, tipping the scales at under 3 kilos. The focuser is dual speed: an excellent feature that allows the user to coarse and fine focus. The meniscus cover is all metal and fits snugly in place protecting the optics from dust and damp. A Vixen-style dovetail plate allows it to be mounted on most any mount.
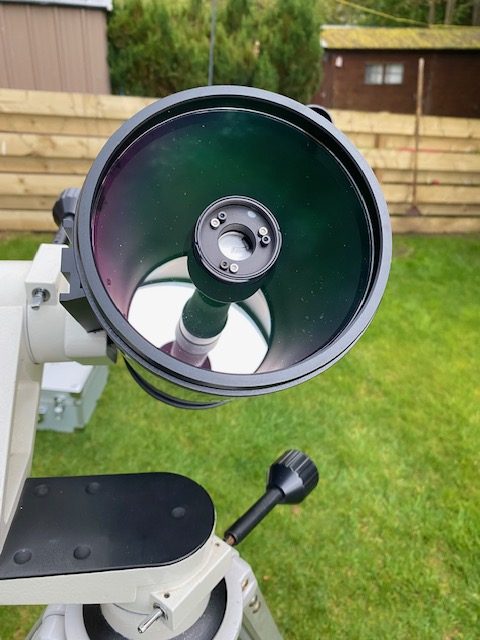
The glass meniscus is fully multicoated and is less curved than a Gregory Mak. Defocusing an artificial star provides the easiest way to measure the central obstruction which turned out to be about 36 per cent: a good result for this relatively fast(for a Maksutov) focal ratio. This is larger than the perceived obstruction from the front of the meniscus as the secondary baffle tapers out a wee bit. That said, it’s still smaller than a Celestron C5 and the 5 inch Synta Gregory Maks, for example.
A telescope like this deserves a decent finder. But I hit a small snag when I tried to mount my 6 x 30 finder scope to the brackets on the MK 127. It was not wide enough to allow the foot to slide inside. I got round the problem by mounting a Skywatcher bracket instead.
Some reports online mentioned the stiffness of the cover on the secondary adjustment screws, but my unit had no such issues. It screwed off without any problems.
Looking inside the tube, I noted how clean and dust-free it was. It could certainly do with internal flocking though to maximise image contrast. All in all, I garnered the distinct impression that this was a robust, well-made telescope: certainly a step up from the Synta-branded 127mm Mak.
Daylight Tests
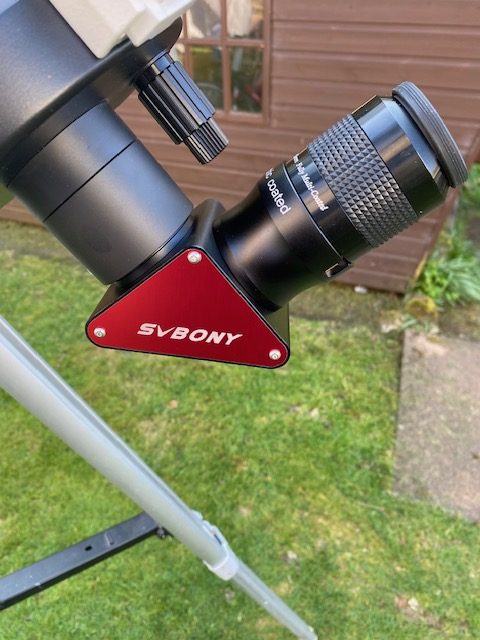
I elected to use a 2-inch Svbony dielectric diagonal to garner the best images from the telescope. I used a variety of 2-inch and 1.25 inch eyepieces to conduct my daytime tests.
I first checked collimation using an artificial star and was relieved to see it was perfectly aligned with nice concentric diffraction rings.
The MK 127 makes for an exceptionally powerful spotting scope. Its short length but robust design allows it to dampen out vibrations very quickly(less than a second) on my Vixen Porta II mount. Charged with an inexpensive GSO branded 30mm 2-inch eyepiece yielding 50x and a 1.36 degree true field, I was genuinely astonished how crisp and contrasty the daytime views were. The superior optical design and high focal ratio of the Rumak served up images that were sharp from centre to edge. Indeed, using the company’s SC001 imager, I took some photos of young leaves emerging from deciduous trees some 80 metres in the distance. For example, the image below was taken in bright Spring sunshine and the small CMOS sensor is roughly the equivalent of a 6mm eyepiece yielding an effective magnification of about 250x. I think the result speaks for itself!
I would actually go so far to say that the MK127 makes for a better spotting scope than a regular lens-based instrument with its low mass, small size, brighter images and complete lack of colour fringing, not to mention its ability to use different eyepieces. The image is upright but flipped left to right which is perfectly acceptable. Indeed, any IPhone can reverse the image with one click. How close can the MK 127 focus? Well, with a 1.25 inch diagonal I could focus as close as 18 metres but when I switched to a 2-inch diagonal I could reduce this to just shy of 11 metres!
Under the Stars
A 5-inch Maksutov makes for a great companion under the stars and the Svbony MK 127 did not disappoint. For optimum performance, the instrument was kept in a dry, unheated outhouse so that it equalises quickly with the outside air. And while some do not consider a 5-inch Maksutov to be a grab ‘n’ go instrument, some basic planning can flip that perception on its head. Conducting my tests on April evenings when Scotland experiences its largest diurnal temperature swings, the MK 127 never had any issues tracking outside air temperatures at night.
The MK 127 delivered in spades under the starry heaven. Under calm, steady atmospheric conditions, Polaris showed a tiny, round Airy disk with a bright first diffraction ring. Textbook perfect in fact! I noted little to no image shift during focusing.
For low power sweeps, I charged the instrument with an inexpensive 30mm GSO super-wide eyepiece generating a 1.36 degree field at 50x. Stars focused down to fine pinpoints against a dark background sky. Centring the bright star Capella in the field of view and panning off axis, I was pleased to see that it did not show distortions until reaching the last 15 per cent of the field, where some mild coma and field curvature became evident. This was very reassuring, as the MK 127 can be used with budget eyepieces. Comparing the views at a similar power with my high-quality 130mm F/5 Newtonian, I immediately noticed the superiority of the Rumak in controlling off-axis coma.
Turning the telescope to Jupiter, now well past opposition and sinking fast into the western sky, a 10mm Sirius Plossl eyepiece providing a power of 150x delivered very nice views with the main bands clearly in view. Adding a Baader Neodymium filter further enhanced low contrast features. The telescope easily picked up the Great Red Spot and I enjoyed numerous shadow transits of the Galilean satellites. The fine focus knob greatly increased the precision of finding the crispest focus point as the planet fell in altitude after dark.
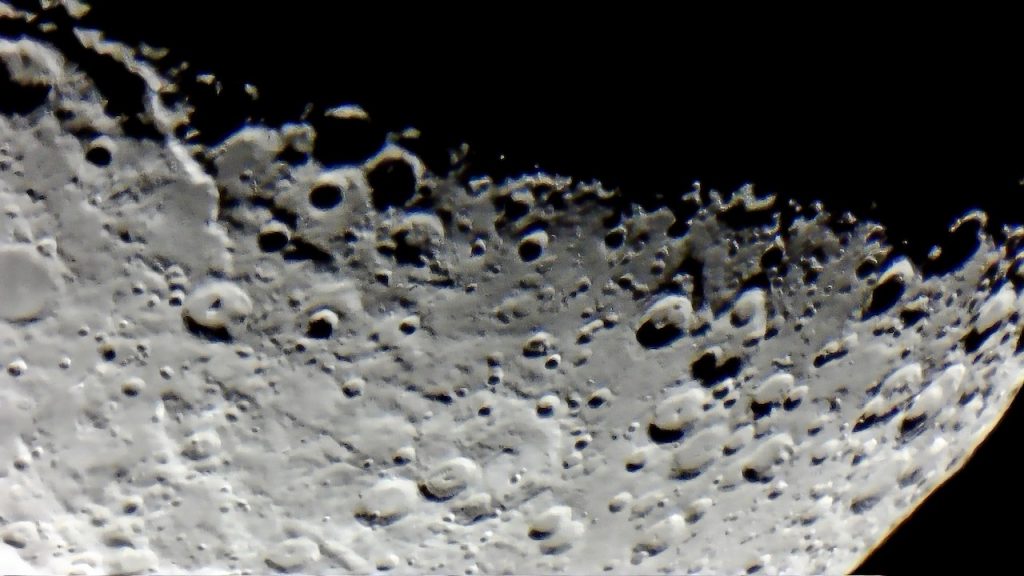
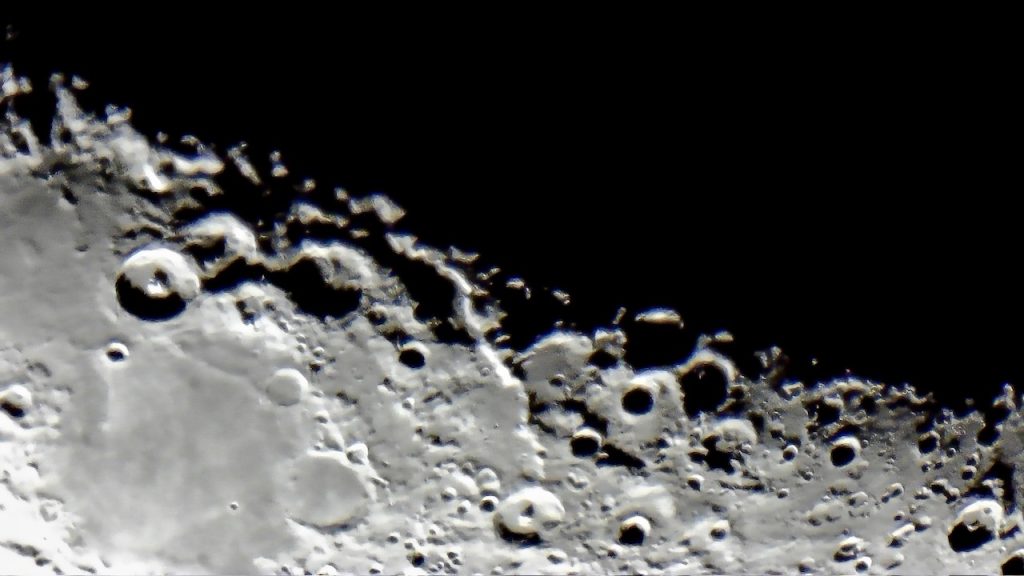
The Moon is awesome in the MK 127. Following its phases from slender crescent to just after first quarter Moon, the MK 127 revealed impressive levels of detail in the battered southern lunar highlands. The Apennine Mountains showed very fine detail at powers up to 250x. The shadows cast by peaks around crater walls were mesmerising to watch. I used the SC001 imager to capture a few shots of the Moon as it drifted through the field of view: two of which are shown below. The reader will be aware that these are single shots and not stacked or processed in any way.
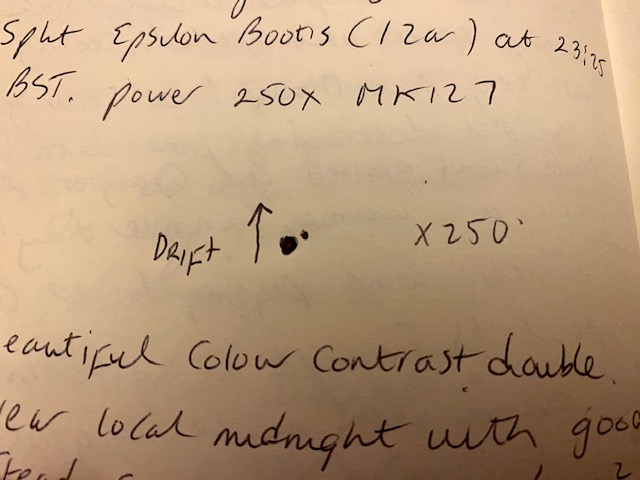
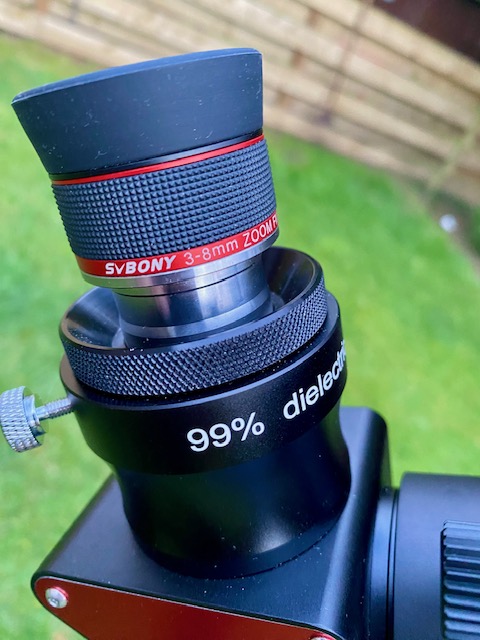
Maksutov Cassegrains have earned a solid reputation as fine double star scopes. And here, yet again, the MK 127 delivered the readies. Using Svbony’s excellent SV 215 3-8mm zoom eyepiece, I managed beautiful splits of Castor A & B, Alula Australis, the twin golden suns of Algieba(Gamma Leonis). Epsilon Bootis (Izar) was also a terrific sight in the MK 127. On the clear night of April 28 I sketched this tight but lovely, colour contrast pair as it drifted through the field at 250x.
Later in the night when the summer constellations of Cygnus and Lyra climbed higher in the northeastern sky, I enjoyed excellent views of the celebrated Double Double( Epsilon 1 & 2 Lyrae)at 217x. Albireo was stunning at 150x, its blue and orange components providing an utterly engaging view. Feeling a bit more adventurous, I tried my hand at more difficult pairs: Delta Cygni in the east and Theta Aurigae in the west. Using my single polarising filter and cranking up the power to 250x I resolved both under steady seeing conditions. I also tried my hand at the delicate triple system, Iota Cassiopeiae, quite low in the north after dark, and was pleased to resolve it very cleanly.
I have no doubt that when Cygnus rises higher in the summer sky, the MK 127 will resolve the sub-arc second pair Lambda Cygni under high powers and steady skies.
Finally, returning to lower powers and wider fields of view, the MK 127 served up lovely views of the Double Cluster at 50x. M13 looked great in the wee small hours once the constellation of Hercules rose to a decent altitude in the eastern sky. The Beehive Cluster and M35 were also beautifully presented in this telescope. I’m very much looking forward to sweeping the summer Milky Way with the MK 127 when dark skies return to our shores in August.
Conclusions
While the internet is awash with YouTube videos (I’d recommend watching the video showcased in my preamble above) demonstrating the imaging capabilities of the Svbony MK 127 using its dedicated 0.65x focal reducer, my emphasis in this review was to illustrate its capabilities in a visual capacity. The handsome Svbony MK 127 certainly offers impressive optical performance for its very modest price tag. Even inexpensive eyepieces perform well, thanks to its large focal ratio. And while I would never consider such a telescope as a main observing instrument, preferring larger apertures in routine use, the MK 127 certainly makes for an excellent portable, travel scope that can be enjoyed equally by day and by night. And for that, it fully deserves a good travel case!
Highly recommended!
As a new Svbony Affiliate, you can use this link to get $50 0ff purchasing the MK 127 package using code Neil50.
The Biblical End Times are laden with deception, with the plight of the Jews at the very centre of this spiritual war. While disgraceful antisemitic news outlets like the BBC, CNN and other legacy media organisations continue to peddle lies and misinformation about the Jews, Zionism and the so called ‘Palestinians,’ distinguished journalist and author, Melanie Phillips, sets the record straight by providing the essential facts to equip the Jewish people and the general public alike with valuable knowledge and skills to combat the narrative of hate we see on our streets and in the media. Learn how to confront pig ignorant firebrands such as Tucker Carlson, Candace Owens, Alex Jones and Megyn Kelly, who have shamelessly gaslit their dwindling audiences with gross perversions of the truth concerning the Jews and Zionism, the likes of which we have not witnessed since the rise of Nazi Germany in the 1930s. This essential Handbook will equip you with the rhetorical skills and historical facts to quickly and effectively deal with mass brainwashing from across the political spectrum, and fanatical Islamists hell bent on destroying the Jews and their incalculable contributions to western civilisation.
Having tested the Zeiss Terra ED in all formats from 42mm down to 25mm, tune in soon to discover why I still consider the 8 x25 to be one of the best bangs for buck in ultra-portable optics……
A wicked, impoverishing and soul destroying ideology that deserves to be tossed into the waste basket of destructive human ideas.
An absolute must read for young adults, liberals and progressives, ignorantly peddling socialist ideas on social media, academia, and in government. Valente unpacks the many intractable problems with socialist regimes and provides very powerful arguments by means of many case studies from the former Soviet Union, China, Cambodia, Venezuela, North Korea and Cuba, which clearly illustrates its moral and economic failings, both to the individual and to society as a whole.
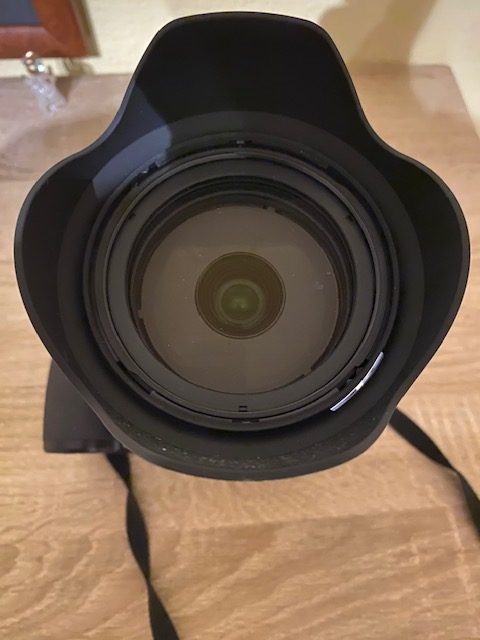
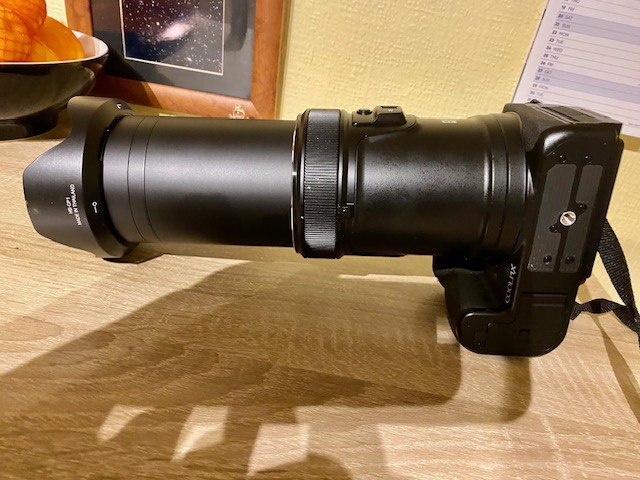
In the past I’ve reviewed many Nikon binoculars, but in this blog I’ll be showcasing two remarkable bridge cameras that combine the best features of spotting scopes, image stabilisation and photography in one neat package. Enter the Nikon Coolpix P950 and its bigger brother, the P1100, which offer huge potential to birders and outdoor enthusiasts without breaking the bank.
The Nikon P950 and P1100 are cut from the same cloth. With a focal length range of 24-2000mm and 24-3000mm respectively, they offer image stabilised magnifications of 40x and 60x(corresponding to 83x and 125x optical zoom), which enables you get super close to your targets in ways that far exceed the capabilities of imaging binoculars like the Swarovski AX Visio and Svbony SA208. And unlike the new line of image stabilised spotting scopes now being marketed by companies like Kite and Swarovski, they can capture excellent handheld images that can greatly enhance your days out. In a nutshell then, these Nikon super zoom cameras leave all of the above in the dust. Birds that appear as mere specks in an imagining binocular are seen close up in all their glory in these amazing cameras!
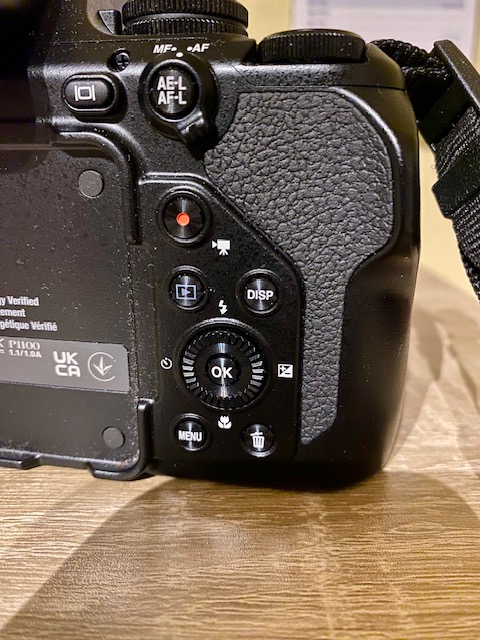
Outwardly, they’re very similar to their predecessors, the P900 and P1000 but include a number of improvements over these first generation models: primarily differing in connectivity (USB-C & Bluetooth 5.2 vs. Micro-USB & Bluetooth 4.1), some new scene modes (like Fireworks), improved ergonomics (new focus selector/control ring), and slightly enhanced image stabilization (5 stops vs. 4 stops), while keeping the same zoom lens and core sensor, with the main driver for the update being EU regulations for USB-C charging ports.
Both cameras have small, 1/2.3 inch sensors, similar in fact to those found in smart phones: a mixed blessing for sure. On the one hand it enables Nikon to pack such large focal length ranges into a portable package(they weigh 1.0 and 1.4 kilos). If a DSLR sized sensor were employed in these cameras, the lenses would be prohibitively long, heavy and unwieldy, not to mention expensive! On the downside, the small sensors don’t perform well in dim light.
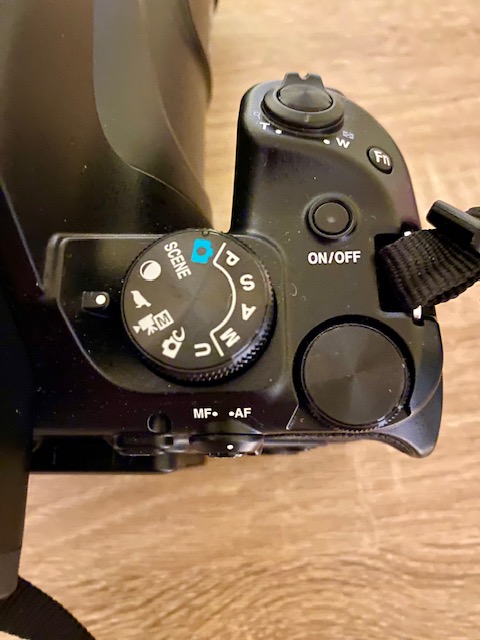
Both the Nikon P950 and P1100 feature a 16 Megapixel CMOS sensor producing images both in RAW and Fine JPEG format. In addition, both cameras feature a number of distinct modes for birding, lunar imaging, fireworks imaging as well as the full gamut of traditional modes including Manual(M), Aperture Priority (A), Shutter Priority (S) and Scene(or Landscape)
Though both cameras are mirrorless, they both have an excellent electronic view finder and high resolution viewing screen that enables the user to see every last detail of your subjects.
The Zoom Nikkor lenses in both the P950 and P1100 have up to 17 elements in 12 groups, including one Super ED and five ED elements. The reader will note the multiple ED elements used in these cameras. I remember a few rank amateurs on the forums openly sceptical about adopting more than one ED element in binocular and telescope optics. All I’ll say to those folk is take a look at the optical specs on these superzoom cameras to see the folly of your scepticism
You Idiot.
The net result of having such a complex optical design is that you get images that are beautifully sharp and contrasty, with virtually no colour fringing. As a keen birder, I do most of my photography in Bird Mode, where the camera selects the best features suited to imaging birds in a variety of lighting conditions. More advanced options can be employed, including manually focusing and choosing Shutter Priority if you wish to capture birds in flight.
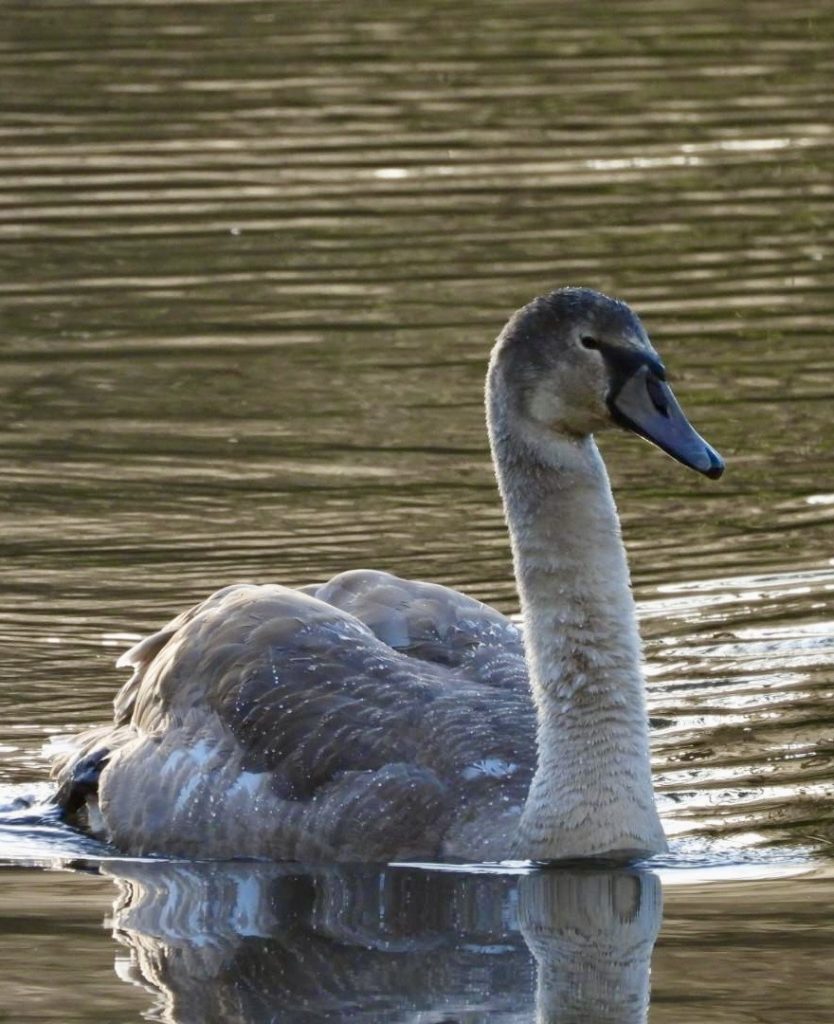
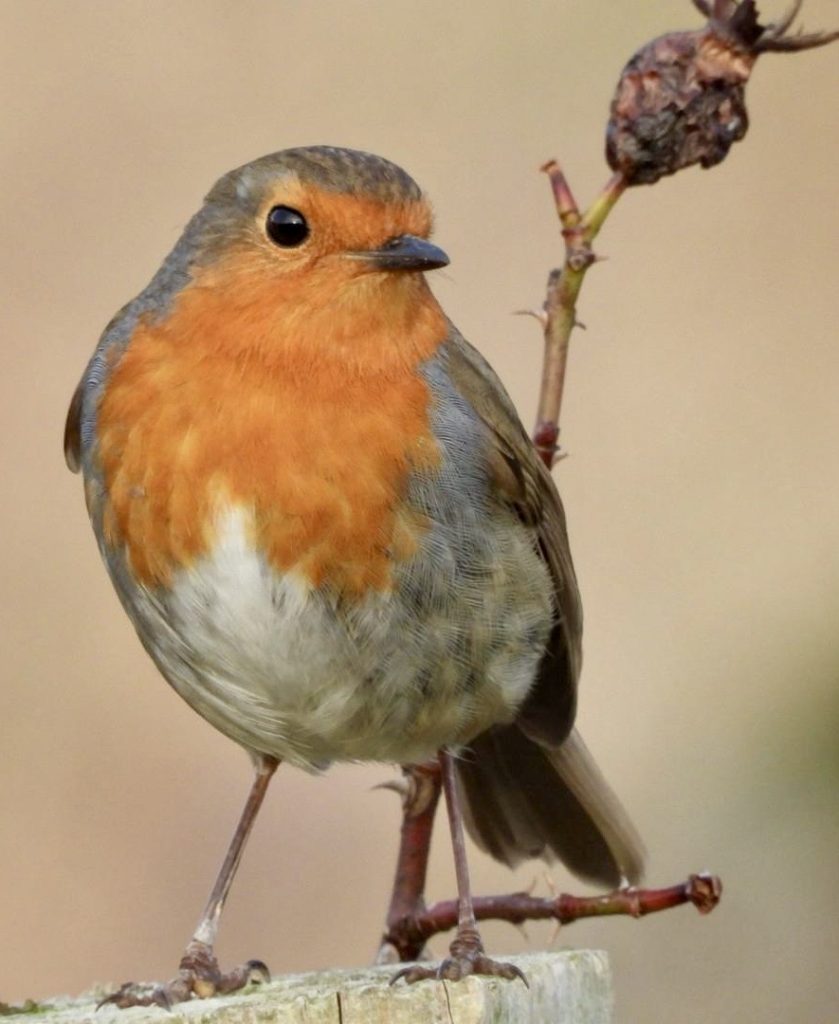
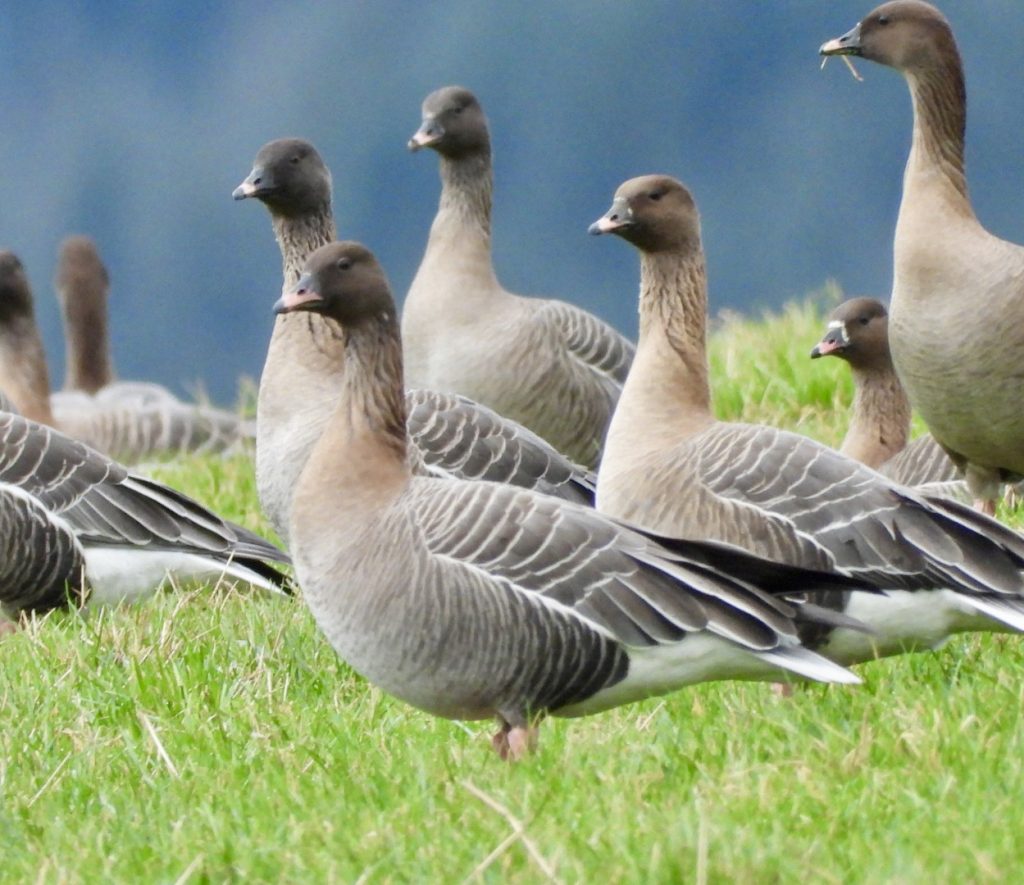
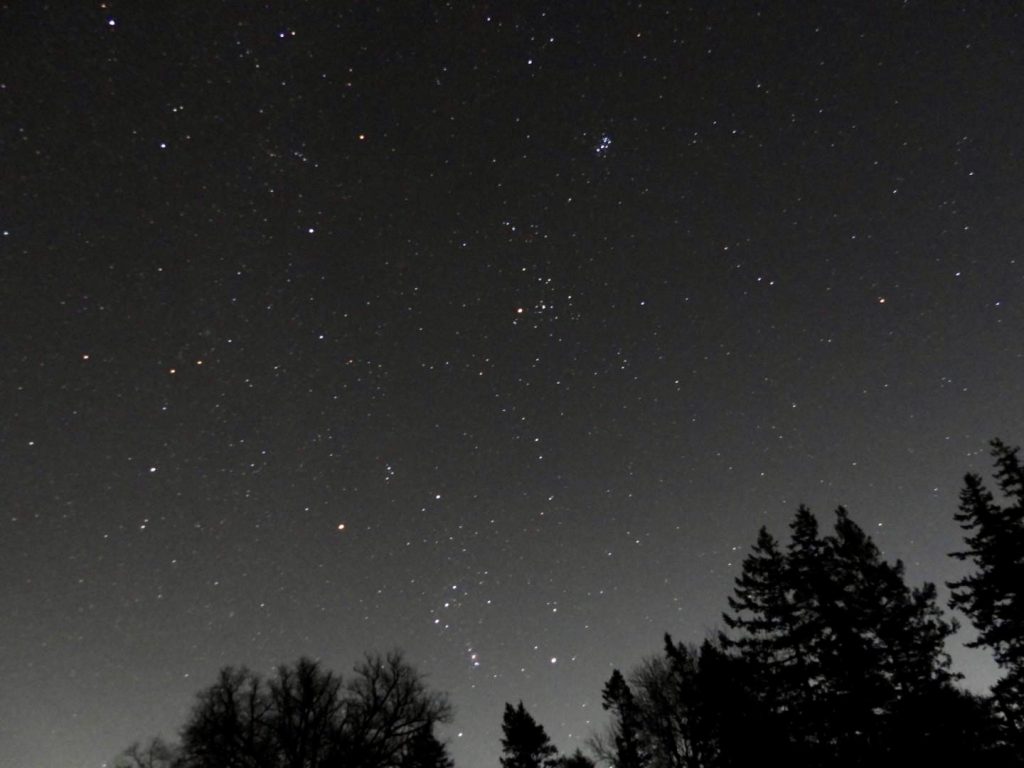
The cameras are capable of taking excellent wide-angle landscape photos at the 24mm setting at f/2.8. As the zoom is extended to longer focal lengths the f ratio increases to a maximum of f/8 on the P1100 and f/6.5 on the P950, necessitating good light to get the best images. The following are a selection of images taken with both the P950 and P1100 at various focal lengths. Bear in mind that all these images were shot in Fine JPEG format with little processing, and that only low resolution images could be posted on this blog. That said, I hope the reader will get a good sense of the potential these bridge cameras offer. Except for the star constellation photo shown below, all of the images were shot handheld, that is, without using a tripod or monopod.
Mute Swan Cygnet: 2000mm@f/6.5
Robin: 2400mm@f/7
Pink-footed Geese: 3000mm@f/8
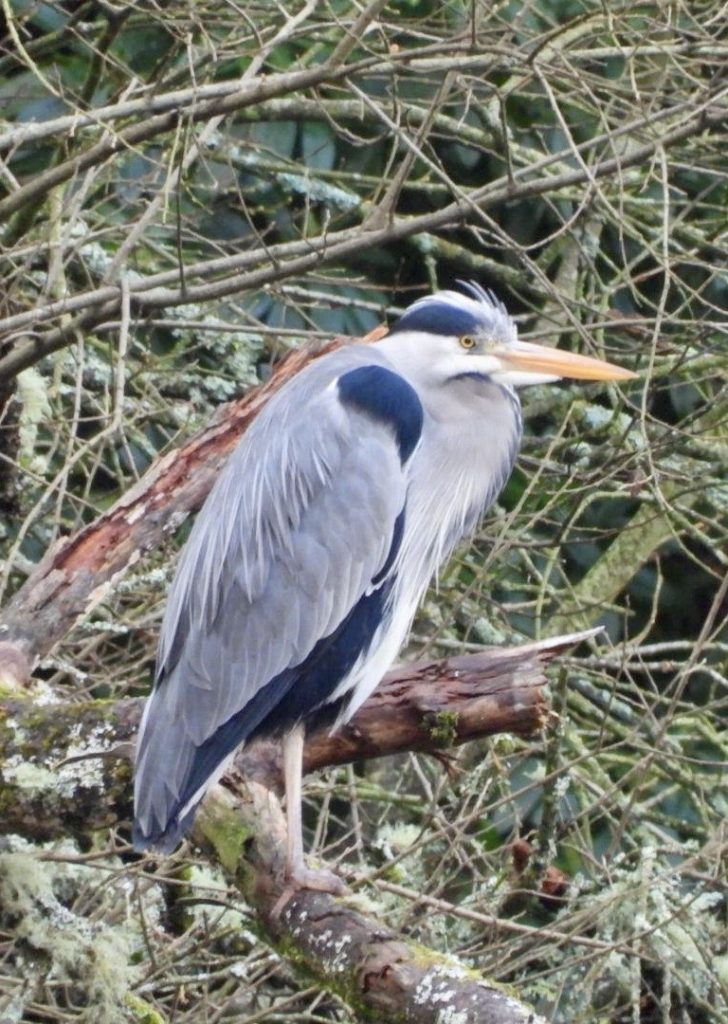
Grey Heron: 3000mm@f/8
Common Merganser: 3000mm@f/8
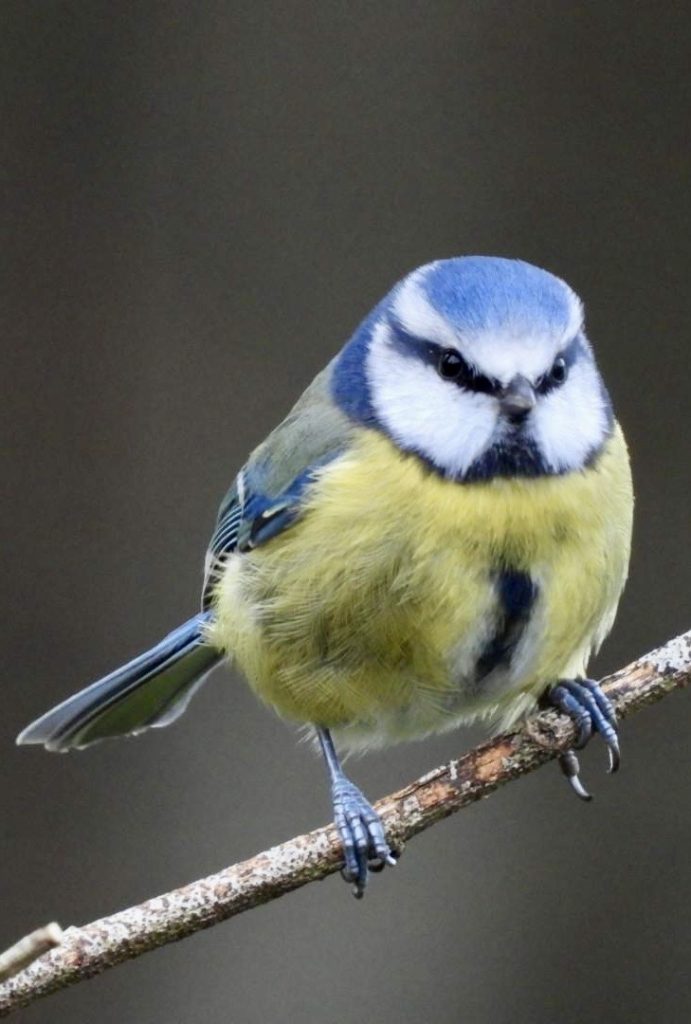
BlueTit: 2000mm@ F/6.5
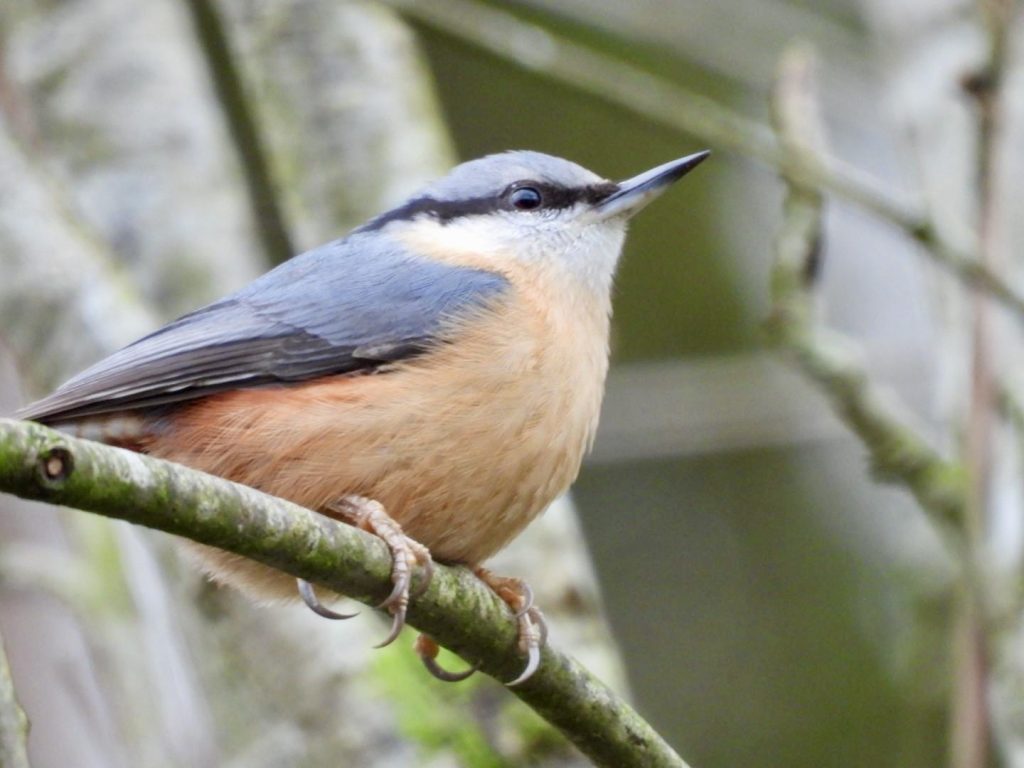
Nuthatch 1500mm@ f/6.8
Wren 2000mm @f/6.5
Buzzard: 3000mm@f/8
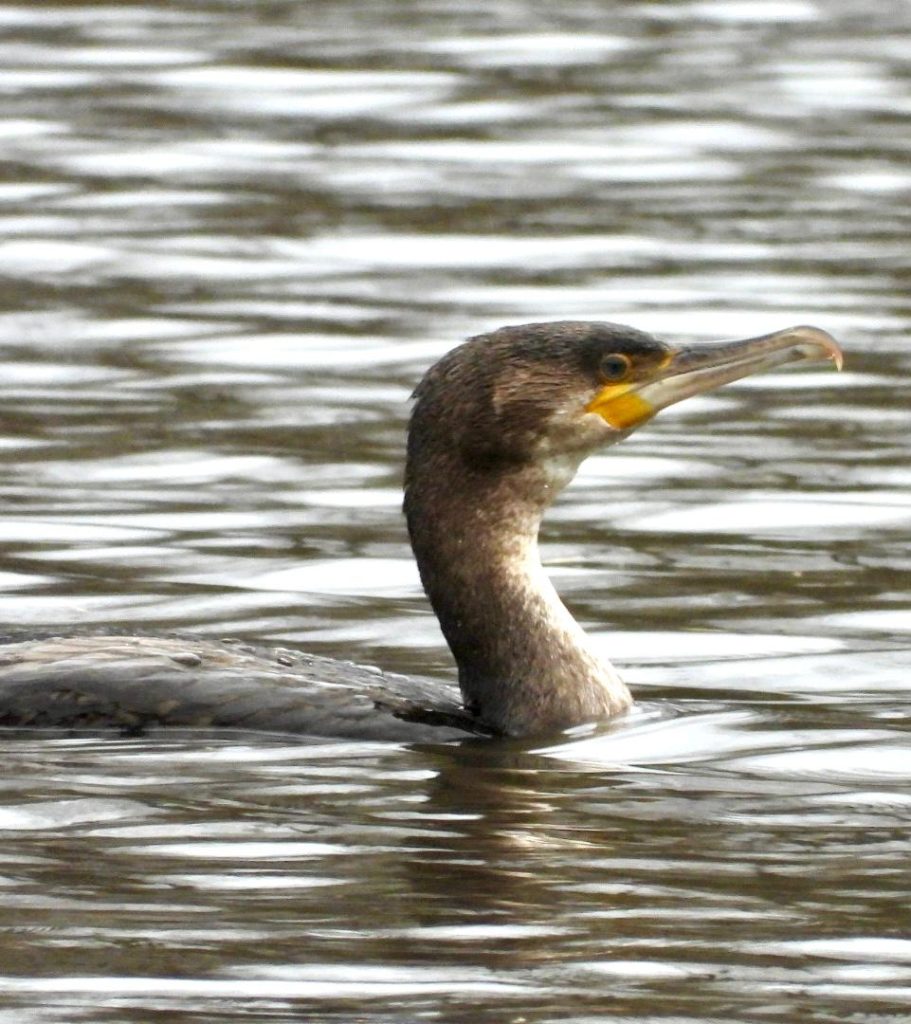
Cormorant: 3000mm@f/8
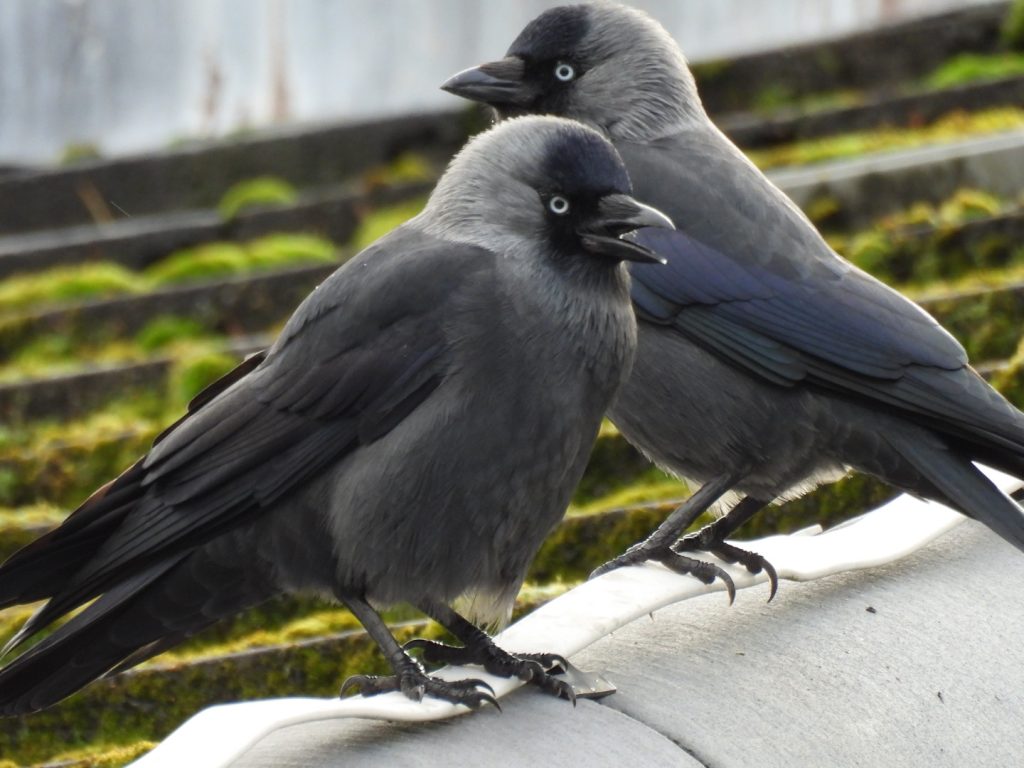
Jackdaws: 2000mm@f/6.5
MistleThrush: 2000mm@f/6.5
Fieldfare & Redwing?~150 metres: 3000mm@f/8
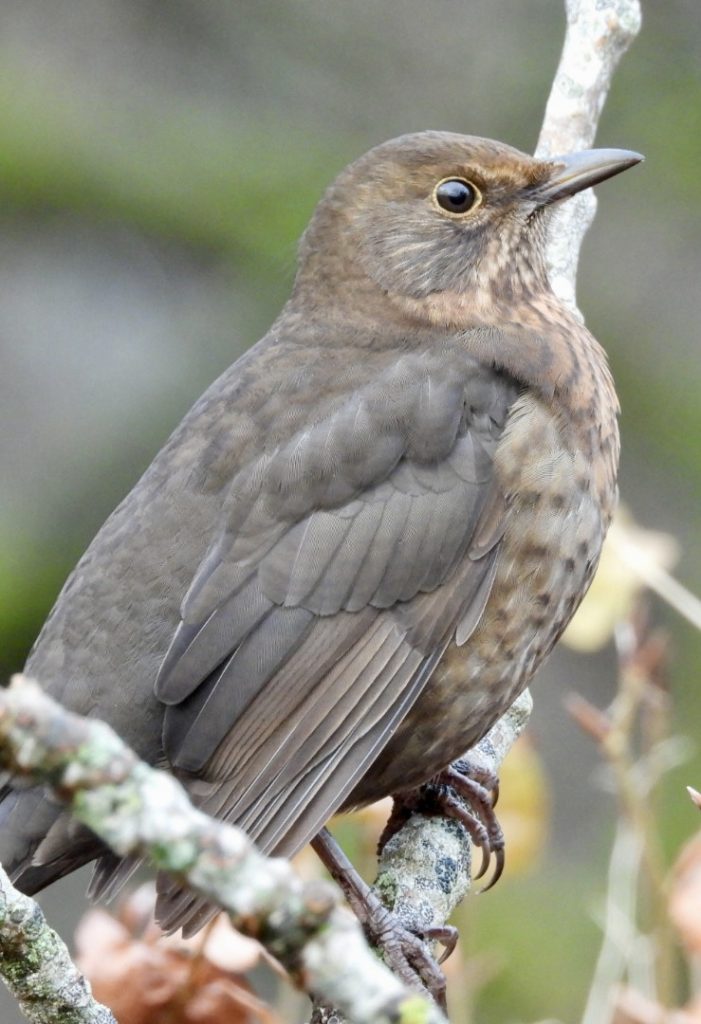
Blackbird: 1000mm@f/5.6
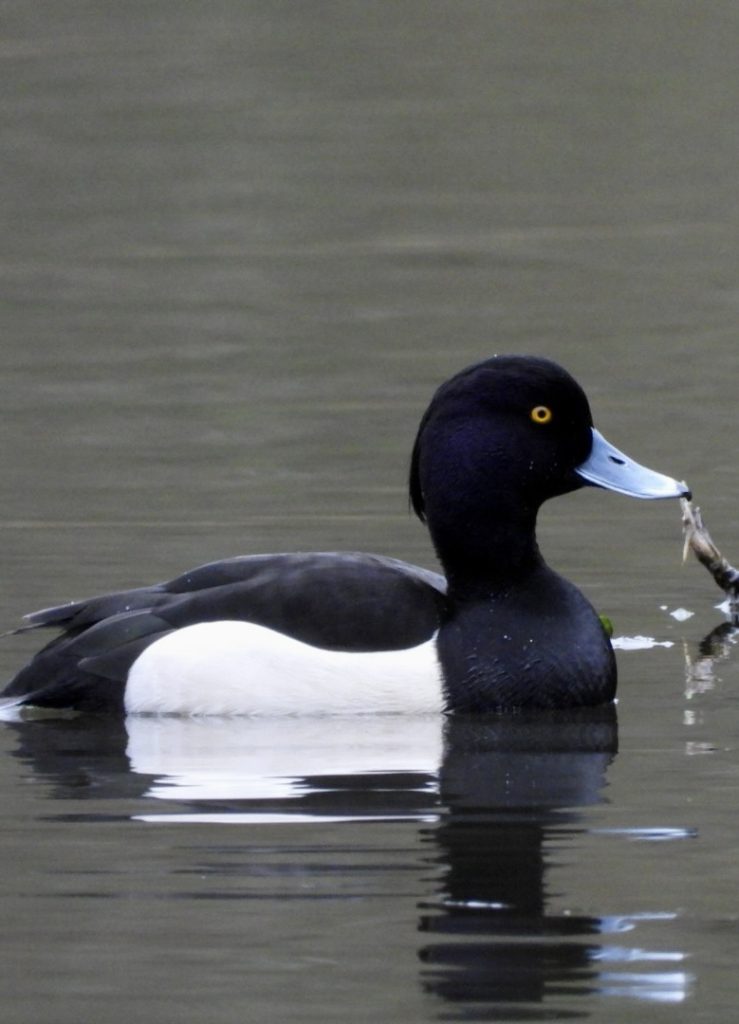
Tufted Duck: 2800mm@f/8
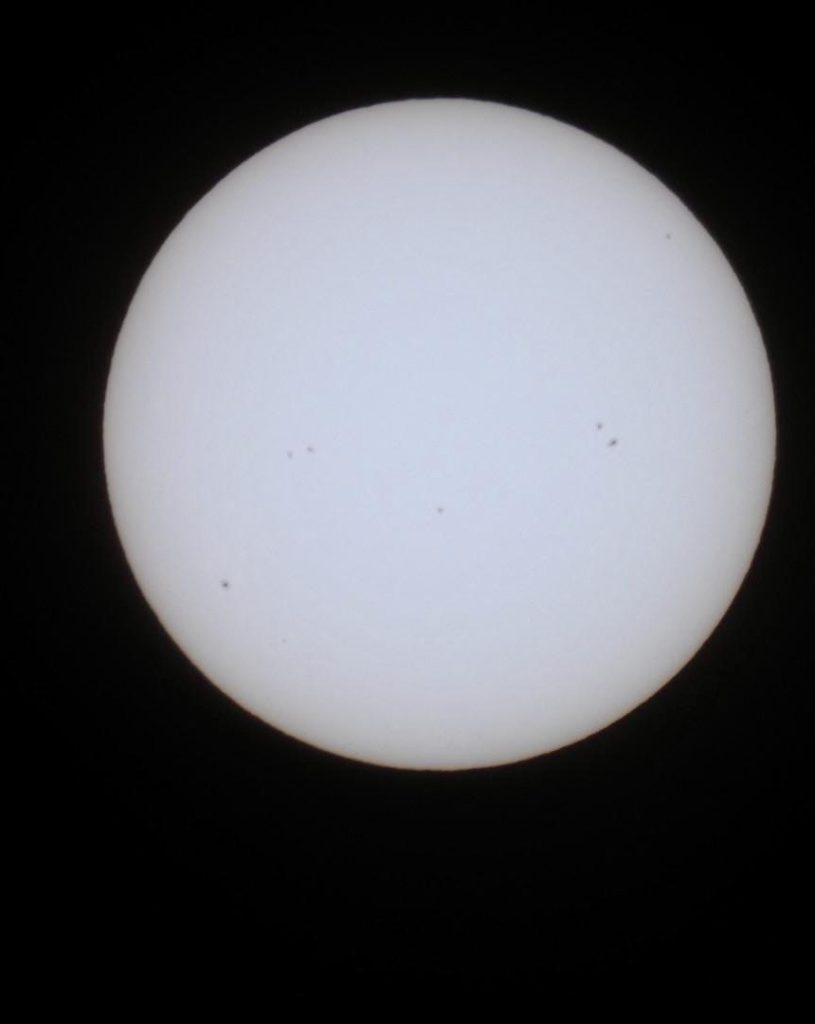
White Light Solar Disk: 2000mmf/6.5
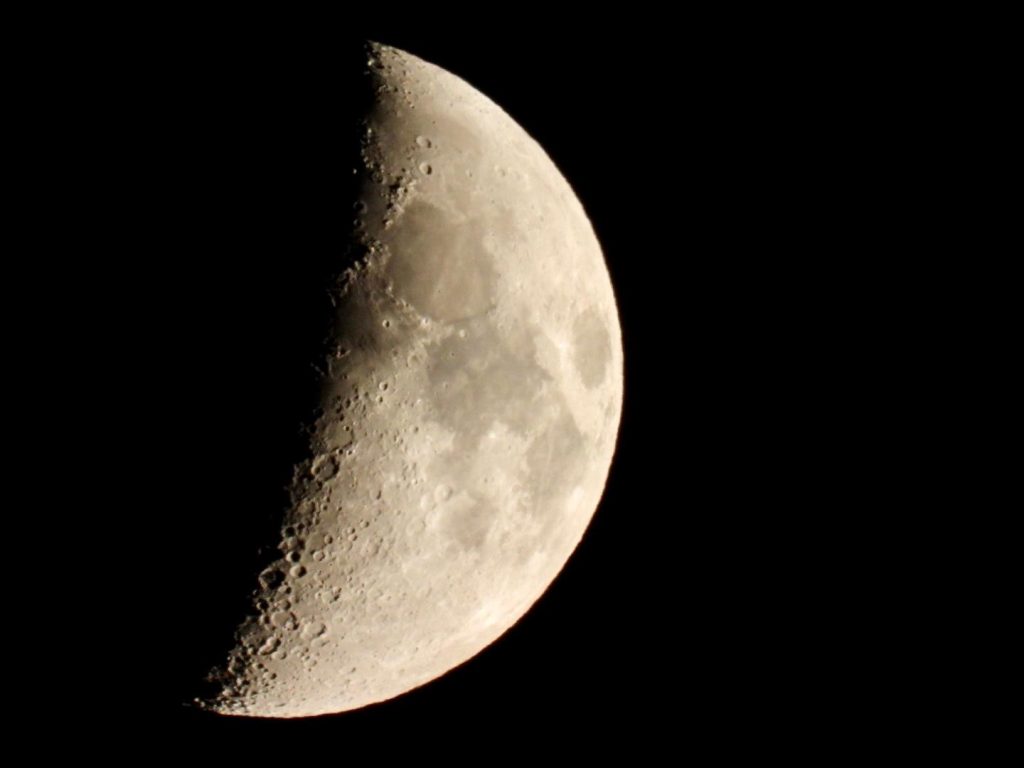
First Quarter Moon: 1800mm f/6.2
Aircraft flying through the Stratosphere: 3000mm@f/8
As well as being very capable as landscape photography cameras, both the P950 and P1100 can also be used to take great Macro images, owing to its enormous native focal length
lengthas seen at the tripod-mounted exposures of the night sky up to 30 seconds long at various ISO settings. I find ISO 400-800 to give the best results.
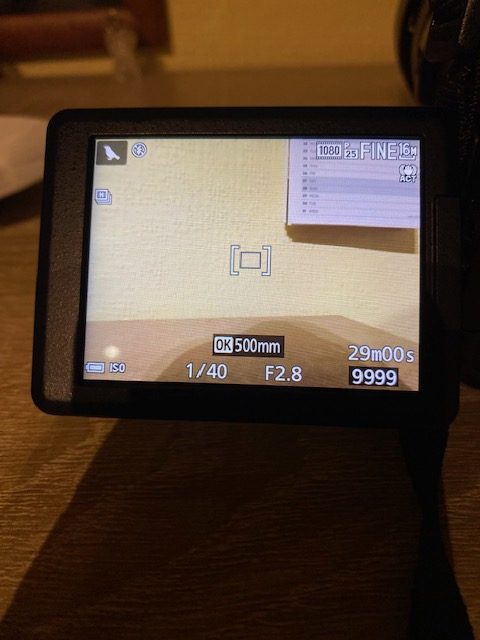
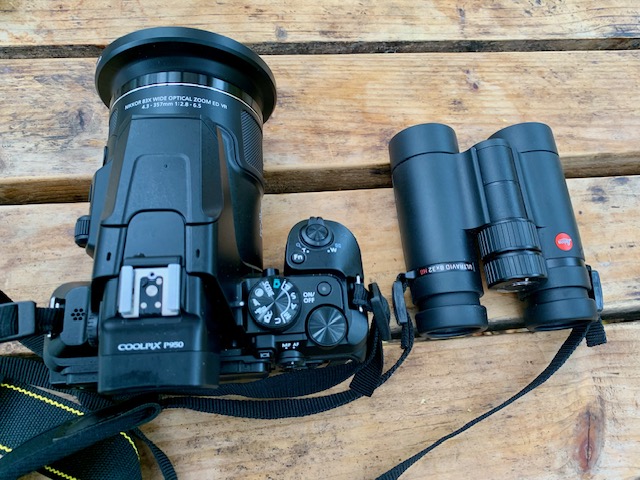
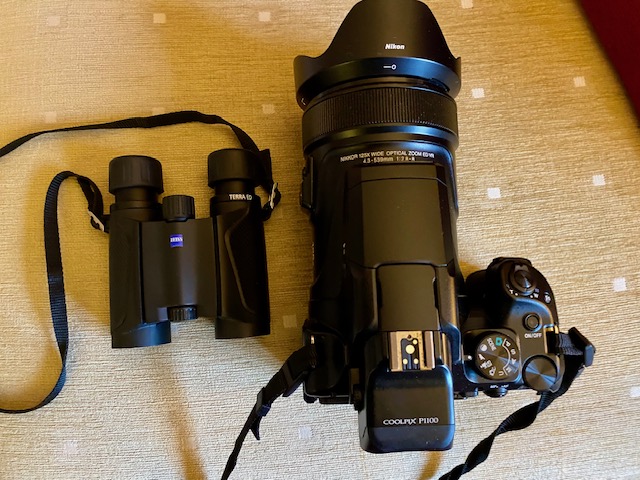
I have taken both cameras along on walks with me, sometimes without binoculars. I find zooming in to 400mm and 500mm to accurately mimic the binocular view at 8x and 10x, respectively. The viewfinder offers up views that are bright enough to see pretty much all the detail I can get with binoculars. However, should you wish to have the best of both worlds, you can certainly take along a small binocular with you. The little Leica Ultravid HD Plus 8×32 is just about doable, but smaller instruments like a Leica Ultravid 8 x20, Swarovski CL Curio 7 x 21, Zeiss Victory Pocket 8 x 25 or maybe a Terra ED 8 x 25 might even be better options in this regard owing to their lower weight.
Any niggles? Yes a few: the autofocus can often play up if you’re target is surrounded by other high contrast objects, such as focusing on a small bird in a bush. It can also be quite sluggish getting locked on to your target with optimal sharpness. That’s why I use the continuous AF mode to capture a burst of images to increase my chances of getting the perfect shot. As explained earlier, it performs poorly in low light conditions or when trying to shoot a bird perched high in a tree against a bright sky background – just like binoculars in fact.
My biggest gripe however, lies with the accompanying software, which can be downloaded free from the APP store. Called Nikon SnapBridge, it sure as hell sucks! One minute it works fine and the next minute it fails to pair up with the camera, necessitating a great deal of tomfoolery before getting it working again. I’m not the first to point this out either: plenty of other folk have had issues with it. Neither camera is weather sealed, so you have to be careful protecting them from the elements. You can however make them fog proof by storing them in an airtight Tupperware container filled with silica gel desiccant. If there is a chance of rain I will usually bring an ordinary plastic bag with me to cover the camera body.
Finally, while the supplied Lithium ion battery has decent longevity, I always carry a fresh backup battery, just in case I suddenly run out of juice. Typically, I can get three one-hour sessions out of a single charge but in cold weather maybe just two.
Versatile Performers:
Man and his technology!
I hope you’ll agree that these super zoom bridge cameras from Nikon capture some excellent images- not National Geographic quality for sure – but more than good enough to share on social media. I believe that they have become a big hit with birders and other wild life enthusiasts around the world. If portability is of prime concern then the lighter Nikon Coolpix P950 should meet your requirements, but if you want to maximise that zoom potential then I’d recommend the P1100.