Over the last century, scientists have made the most remarkable discoveries about our universe. We have learned more about its vast size, its finite age, and that it is peppered with countless trillions of galaxies, which are like veritable “island universes,” each home to billions of stars and vast clouds of gas and dust ripe for the creation of future stars. In more recent years, cosmologists have unearthed a whole string of cosmic coincidences that are necessary to make life in general, and human life in particular, even possible. Such coincidences have caused quite a lot of philosophical disquiet in recent years among atheists, who have desperately tried to explain away our significance as a mere fluke – chance caught on the wing, as it were.
But other thoughtful scientists see this evidence as unmistakable signs of deliberate design by a mind far more powerful than ordinary human understanding. It was these remarkably fine-tuned properties that inspired the teaching of new university modules on the fruitful intersectionality of science with philosophy and even religion. This is where we pick up the story of one such scientist, Dr. Eric Hedin, a former professor of physics at Ball State University, who developed a course entitled ‘The Boundaries of Science’ for undergraduates in philosophy and the sciences.
After successfully teaching this interdisciplinary module to students for several years, Hedin’s teachings came to the attention of the outspoken atheist and evolutionary biologist Jerry Coyne, who, together with lawyers from the militant atheist Freedom from Religion Foundation, pressured the university to shut down the course because it was allowing room for discussion of intelligent design-based ideas. Hedin and his colleague, astronomer Dr. Guillermo Gonzalez, were subsequently denied tenure, which forced them to seek employment elsewhere. In the wake of these events, Hedin wrote a provocative book entitled Cancelled Science: What Some Atheists Don’t Want You to See, which recounts his ordeal while also delivering some of the key ideas he had presented to his students at Ball State.
The Cosmic Beginning
The opening chapters discuss some of the main evidence for a cosmic beginning, such as Hubble’s Law, which established that the universe had a definite beginning around 14 billion years ago. And despite attempts by the greatest cosmologists to refute such a conclusion, the evidence of a beginning has only grown stronger. All matter, space, and even time itself had a definite beginning in the finite past, and that implies that the agent that caused this hot Big Bang event must exist beyond, or outside of, the space-time continuum of our universe.
But as Hedin explains, the ensuing expansion of the universe was no haphazard expansion. The rate of its inflation had to be highly fine-tuned. If it had been just a little slower, gravity would have eventually turned everything into black holes, and if it had been any faster, all the matter would have been hopelessly diluted, preventing stars and planets from ever forming. As Hedin concludes:
This opening act of our universe was anything but a random explosion. It was more like an orchestrated expansion, or like the opening of an elaborate “pop-up” book, in which a castle with turrets, moat, and drawings unfolds perfectly as the first page is opened.
“Balanced on a Knife-Edge”
Chapter 4 discusses the constituents of our universe with its odd mix of ordinary matter and so-called dark matter and dark energy. Hedin explains that while we are still unsure regarding the nature of both dark matter and energy, the latter component had to be fine-tuned to within one part in 10^120 to enable life to eventually flourish in the universe. This extremely fine-tuned property prompted the physicist Paul Davies to declare that “the cliche that life is balanced on a knife-edge is a staggering understatement.”
Hedin makes it clear that the universe is old and vast. Furthermore, he offers some compelling reasons why the cosmos must be the age it is (about 13.8 billion years old), since it takes a considerable amount of time to create the heavy elements needed for planets and life to eventually come into existence. And while many atheist astronomers see the size of the universe as an indicator of our insignificance, Hedin turns this suggestion on its head by asserting that the universe’s vastness actually “underscores our significance.”
The “Thorny” Question of the Origin of Life
In chapters 7 through 10, Hedin provides a fascinating overview of the incredible sequence of events that made Earth habitable. Central to his arguments is the notion that life appears to be an extraordinary addition to our universe that defies all attempts to explain its origins and subsequent flourishing on Earth. Hedin casts his critical physicist’s eye over the thorny issue of the origin of life using several arguments from the physical sciences to highlight the highly improbable emergence of the first living cells from inanimate matter. In Hedin’s words:
As technology has advanced to where we can observe the inner workings of living cells, we are confronted with a shockingly high-tech arrangement of atoms and molecules. The biomolecular metropolis inside a cell is unlike anything observed anywhere else in nature. The arrangement of atoms in a cell is neither a random atomic jumble, nor a simple, repetitious, crystalline pattern … Neither chance, nor law-like processes, nor chance and natural selection together possesses so much novel information, even granting the entire history and breadth of the Universe.
The End of Neo-Darwinism
In chapter 10, Hedin launches a robust attack on Darwinian ideology, raising his suspicions that it’s just not sufficient to explain the evidence. He writes:
Modern Darwinism seeks to establish that random mutations, however generated, coupled with natural selection, changed a single original species of life into every species of life that has ever existed on Earth. This theory corresponds with some evidence, but conflicts with other evidence, and the conflicts are substantial. There are still no observed examples of one species gradually evolving into a distinctly different one, as Darwin envisioned.
Hedin brilliantly likens the sorry state of the so-called Neo-Darwinian synthesis with the final stages of the old geocentric model of the solar system stubbornly held onto by Renaissance astronomers despite new and compelling evidence for the heliocentric model now universally adopted:
The theory of evolution shares characteristics in common with the geocentric model of the solar system. The geocentric model explained some things tolerably well, but it had to be jury-rigged more and more to explain away contrary evidence that continued to accumulate … for the geocentric model, it was the convenient idea of epicycles, messy add-ons to the geocentric model that became necessary to get it to fit the data. For evolutionists, it’s punctuated equilibrium, or co-option, or a dozen other highly strained just-so stories.
Wisdom is Older than Nature
In Chapter 11, Hedin defines human consciousness as yet another manifestation of design. Our world and the wider universe are arranged in such a way that it is comprehensible by the human mind, which sifts the chaos and brings out if it order, creating beautiful abstractions in the forms of music, art, mathematics and science. He points out that beauty is a reliable indicator of truth. In his own theoretical work, Hedin has argued that if a system of equations he’s working on don’t converge on something simpler and deeper, he’s probably not on the right track. Moreover, the surprising success of mathematics in describing the inner workings of nature strongly points to the existence of a great mind that must have existed, before space, time, and matter came into existence.
Hedin draws on the work of philosophers such as Richard Swinburne, C. S. Lewis, and Alvin Plantinga to effectively argue that materialistic accounts of how human consciousness arose frankly don’t stack up. Moreover, if rational thought was really the outworking of a mindless evolutionary process, we would have no reason to trust rational thought to begin with.
All in all, Cancelled Science is an inspiring and thought-provoking story of intellectual courage, powerfully demonstrating that the latest findings from origins science boldly proclaim a universe that was exquisitely designed from the bottom up by a masterful artist and Creator, whom Hedin implicitly identifies as the God of the Bible. It’s a must read for all Christian apologists.
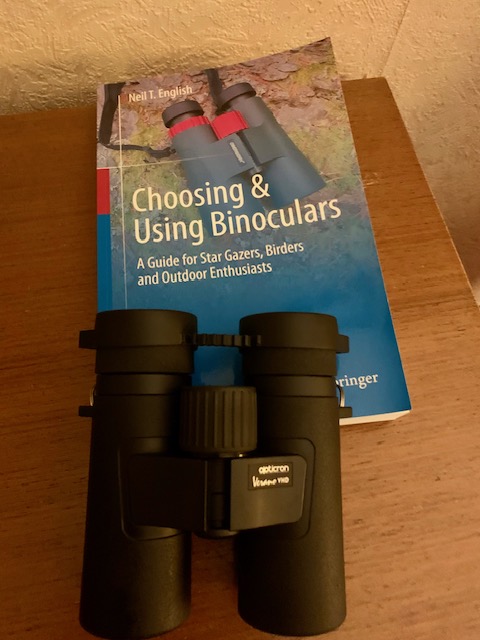
Dr Neil English is that author of eight books on amateur and professional astronomy. His latest book is Choosing & Using Binoculars, a Guide for Stargazers, Birders and Outdoor Enthusiasts(Springer Publishing, 2023).